
Configure Apple Authentication Source
Apple provides the Sign in with Apple feature, which allows users to log in to third-party apps or websites directly using their Apple ID. To facilitate enterprise user authentication login, the IDaaS platform supports configuring Apple as an authentication source. Users can authenticate and log in to various application systems through Apple, bringing enterprise users a simpler and more convenient login method and better user experience.
This guide explains the related operations for configuring an Apple authentication source.
Prerequisites
- Administrator permissions for the Apple development platform. The Apple Open Platform requires joining the Apple Developer Program (can be joined as an individual or organization, requires payment, annual fee RMB 688).
- Administrator permissions for the IDaaS Enterprise Center.
Procedure
Apple Developer Platform Operations
- Log in to the Apple Developer Platform, and add the developer plan.
- With administrator permissions, Certificates, Identifiers & Profiles is displayed under plan resources. Access Identifiers.
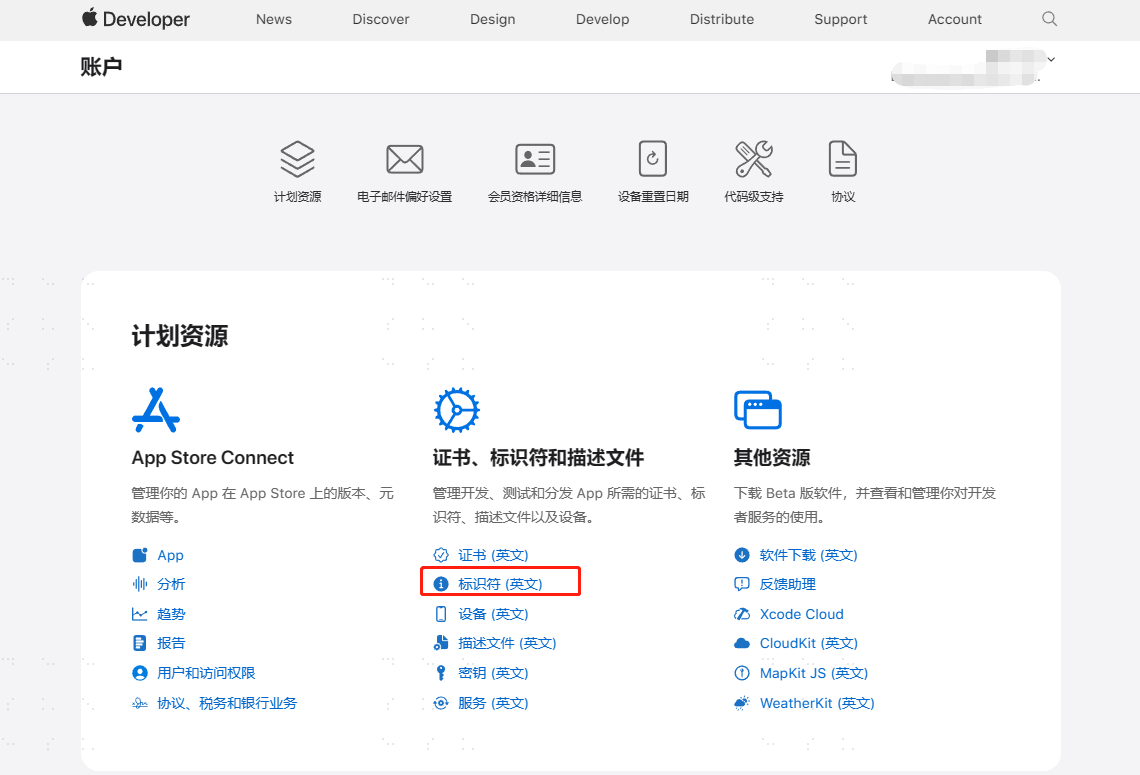
Create App ID
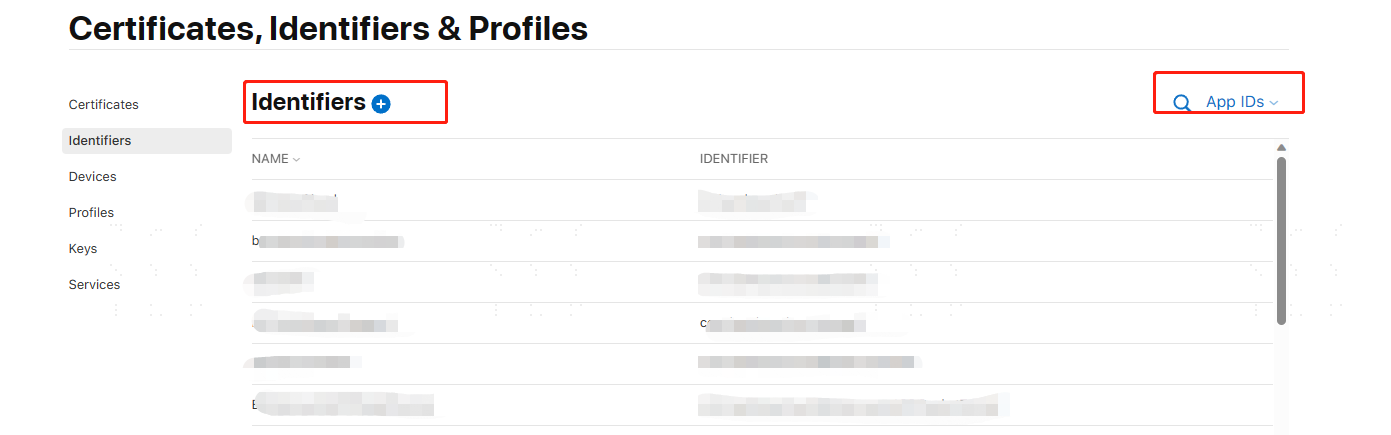
In the Identifiers menu, select App IDs, and click Add.
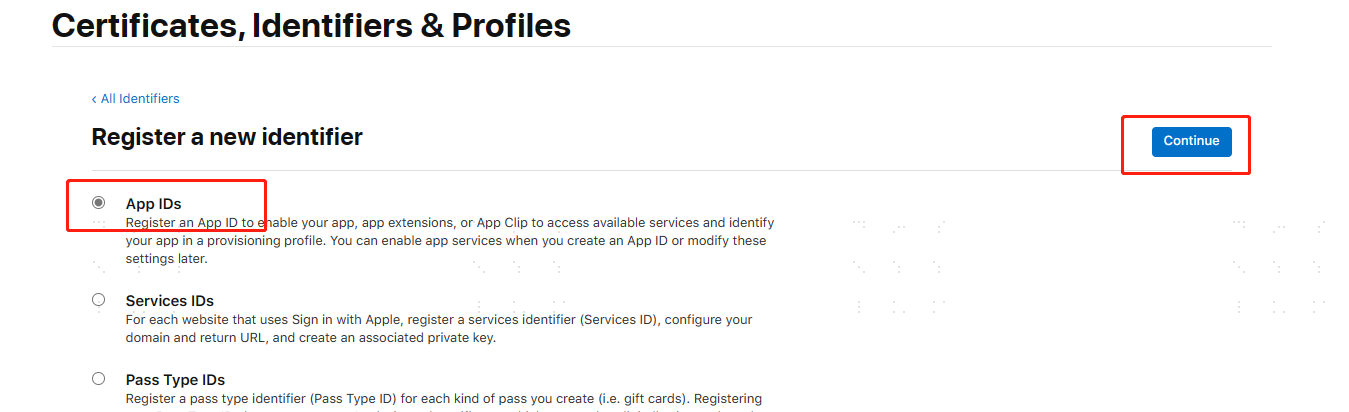
Select App IDs, and click Continue.
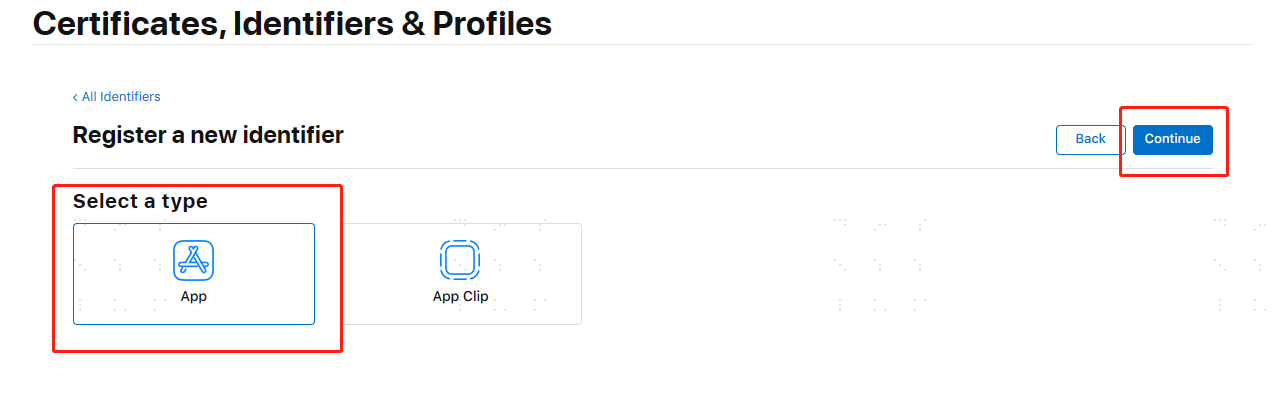
For Select a type, choose App, and click Continue.
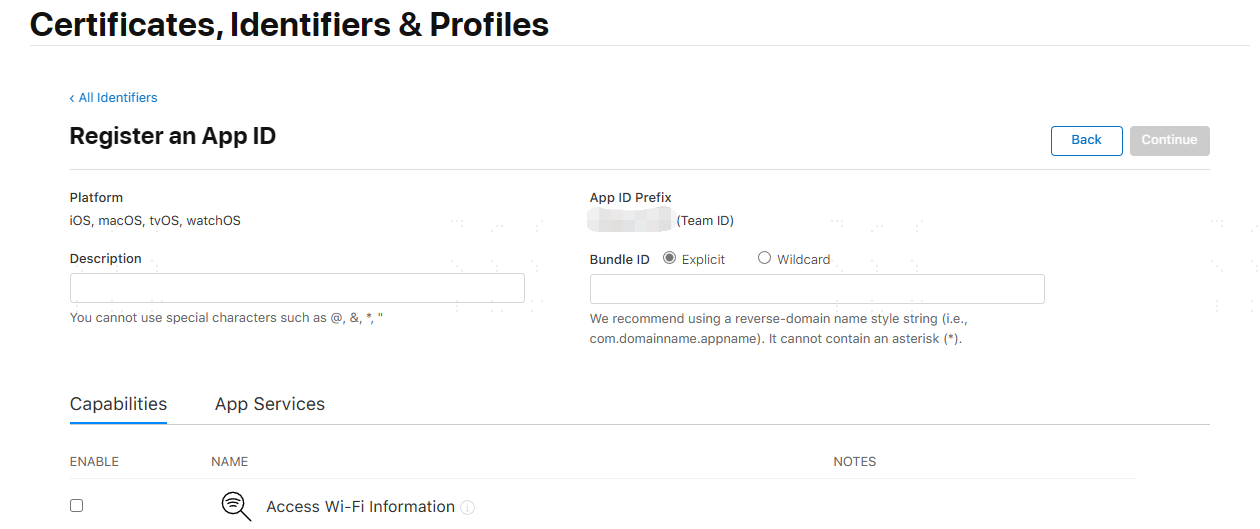
On the Register an App ID page, enter Description and Bundle ID.
- Description: App description, can be modified.
- Bundle ID: Must be unique. It is recommended to enter the project domain name, for example, for
domain.com, you can entercom.domain. Cannot be modified. - Team ID:
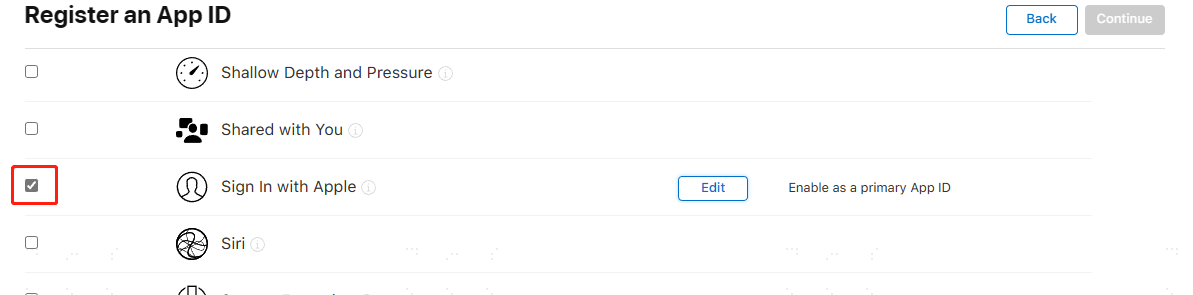
Check Sign In with Apple at the bottom, and click Continue to complete App ID registration.
Create Service ID
In the Identifiers menu, select Services IDs, and click Add.
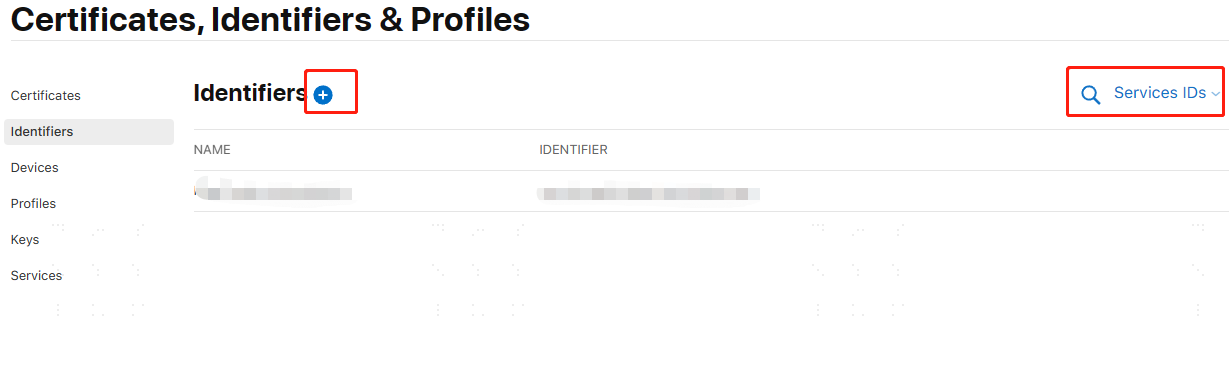
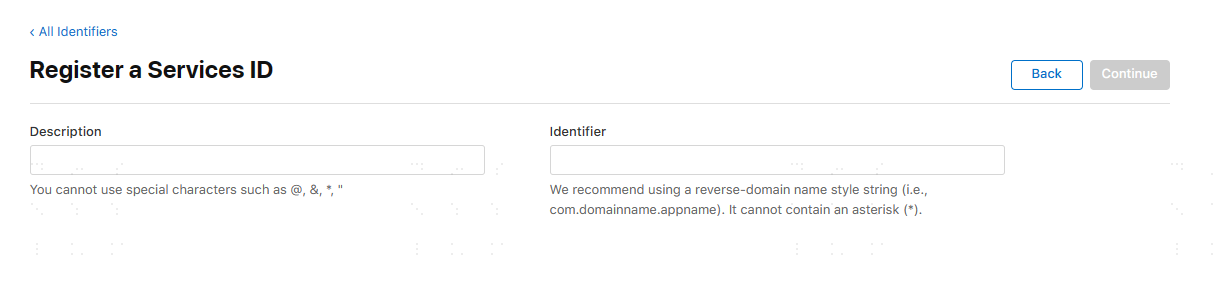
Select Services IDs, click Continue to enter the Register a Services ID page, and enter Description and Identifier.
- Description: Service description, can be modified.
- Identifier: Service identifier, cannot be modified.
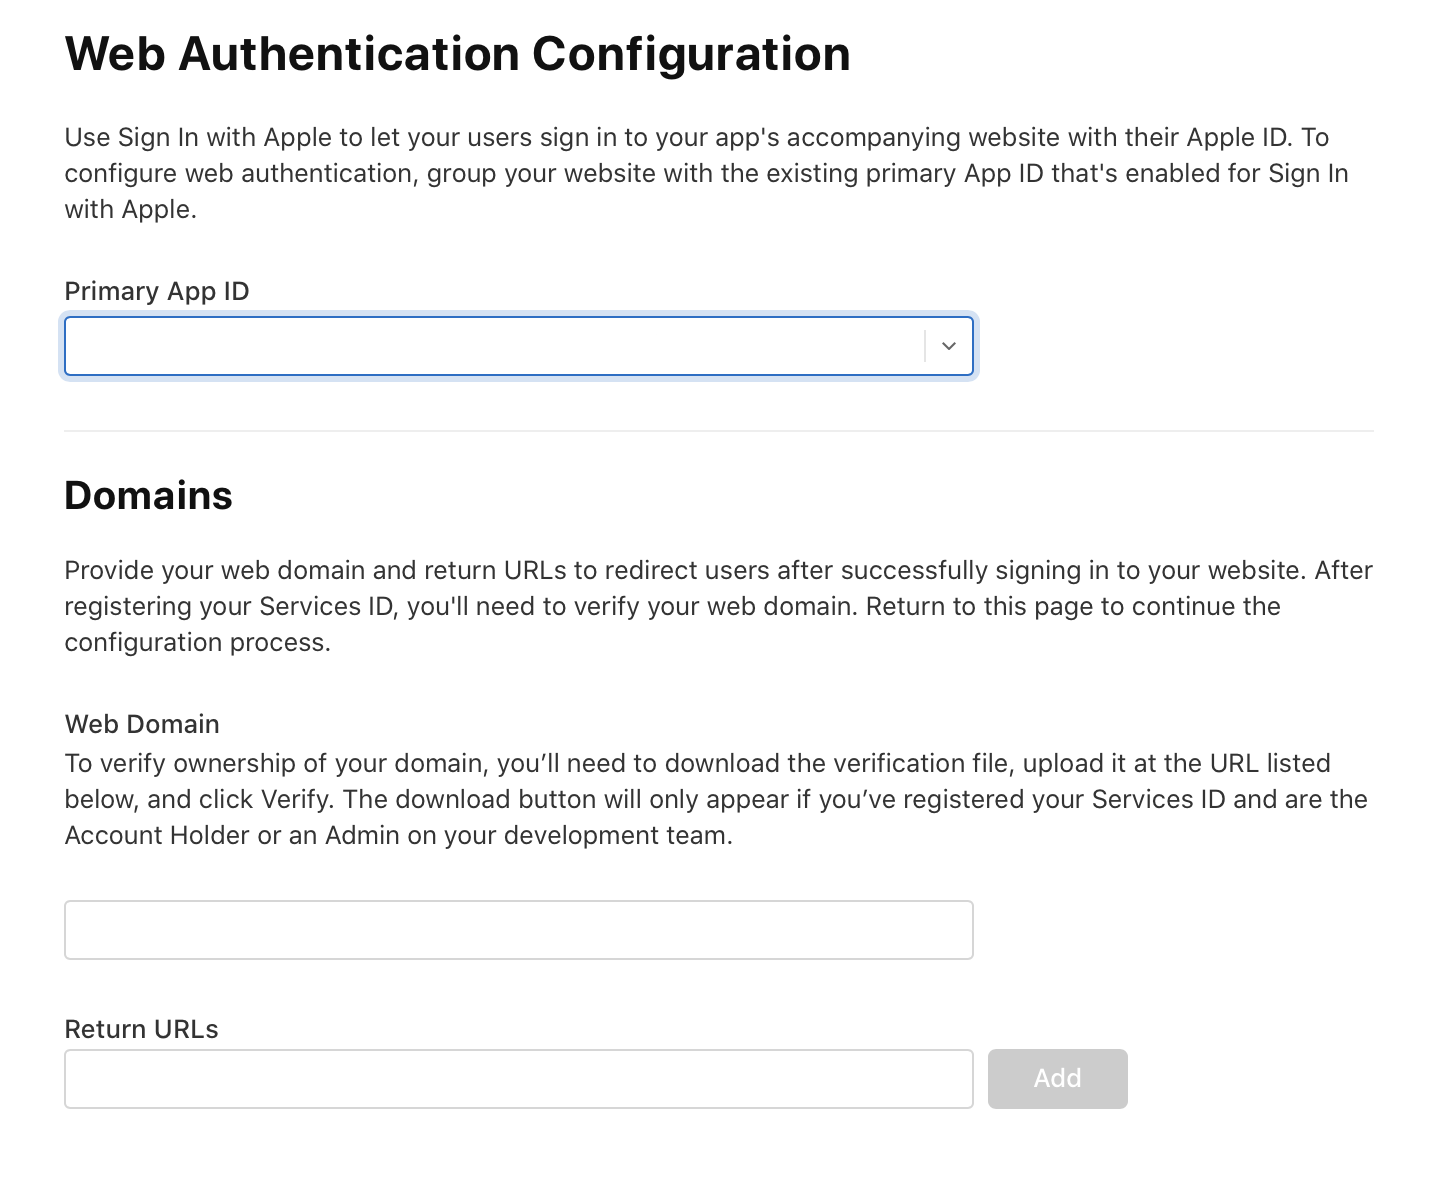
After completing the above configuration, click Continue, enter the following page, and the Service ID is successfully created after configuration.
- Primary App ID: Select the App ID just created for binding.
- Web Domain: Configure the secure interface domain name, for example,
domain.com, without thehttpsprotocol header. You can fill in the IDaaS tenant domain. - Return URLs: The interface callback address after authorization login. This address must be the Apple login address provided by IDaaS, for example:
https://demo.bccastle.com/api/v1/login/apple.
Create Keys
In the Keys menu, click Add.
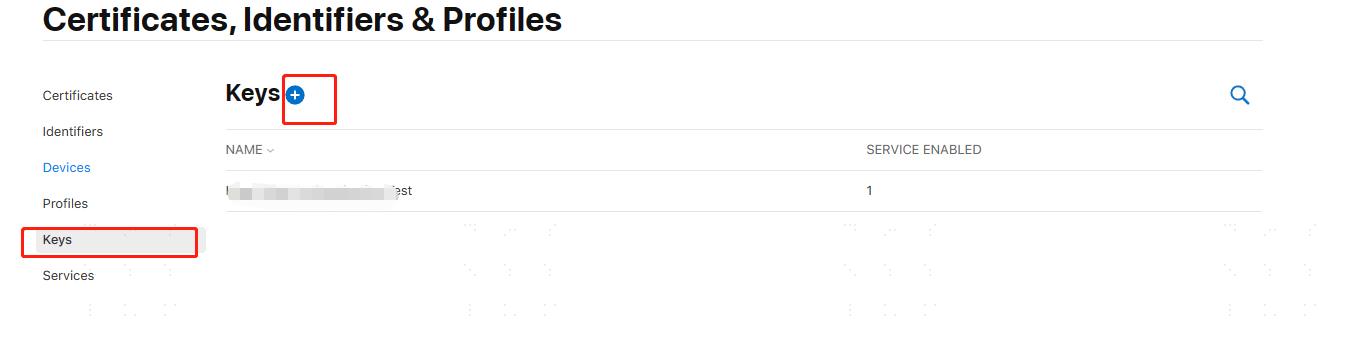
On the Register a New Key page, complete the following configuration.
Key Name: Custom key name.
Check Sign in with Apple, click Configure, select the App ID created previously, and click Save.
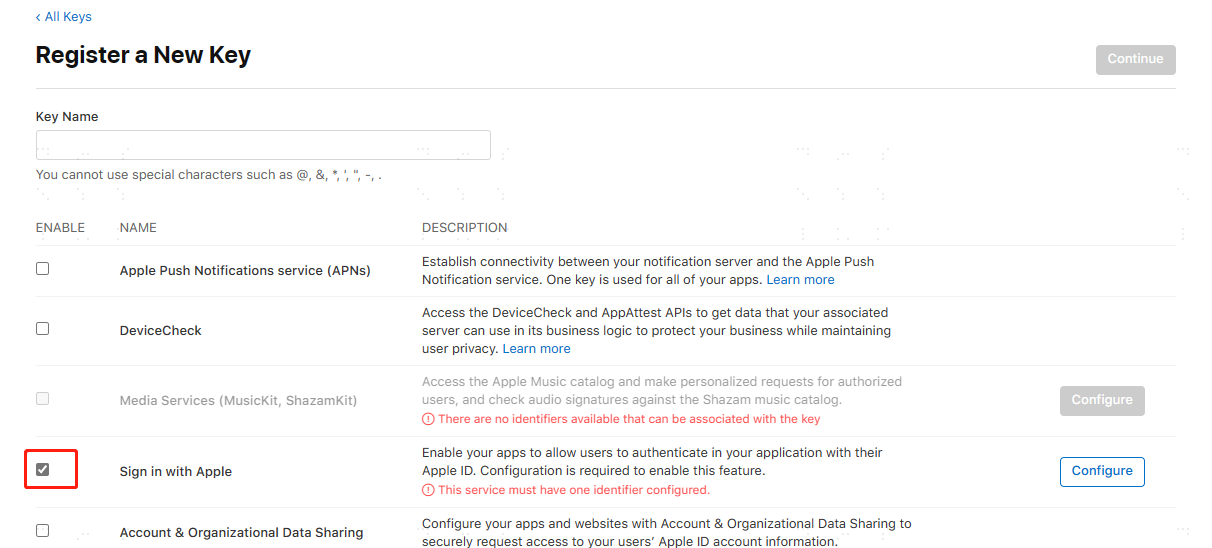
Return to the Register a New Key page. After clicking Configure, continue to click Register. The following page is displayed.
This page displays the created Key ID, and reminds you to download the private key file. Clicking Download will download a
.p8file.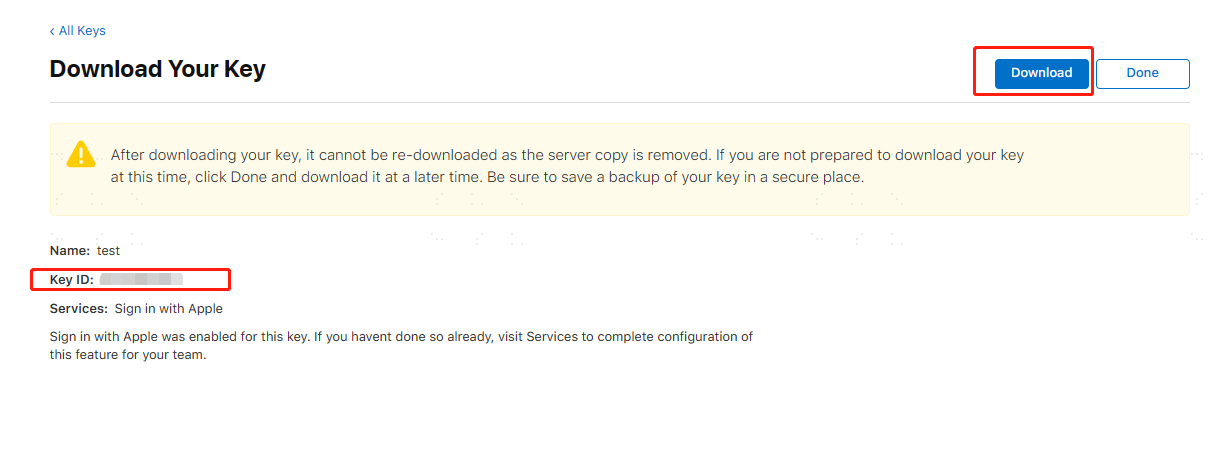
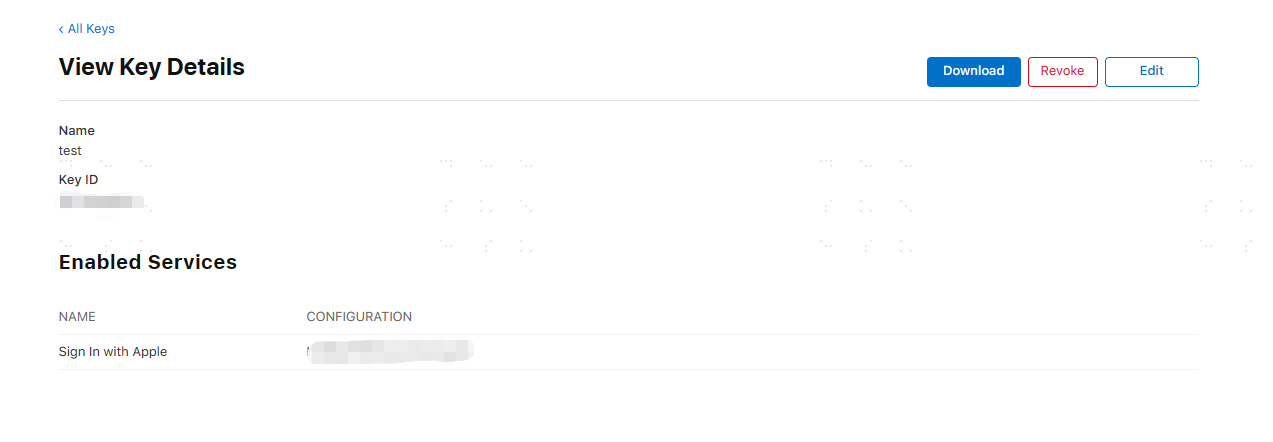
After completing the key addition, you can view the newly added key in the list. The detail page is as follows.
Configure Apple Authentication Source in IDaaS
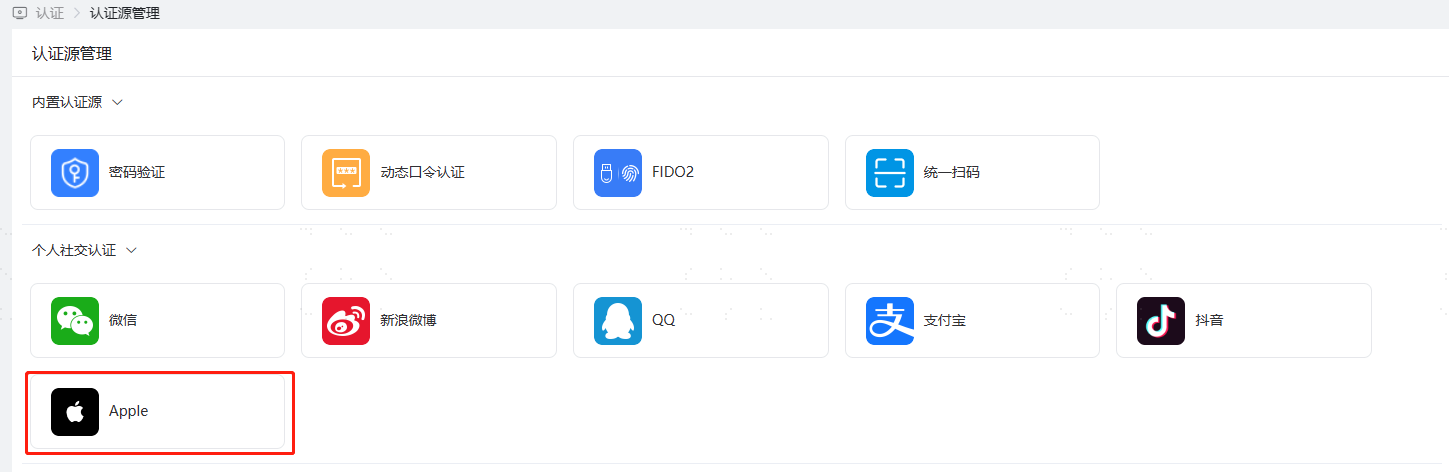
Log in to the IDaaS Enterprise Center, choose Authentication > Authentication Source Management from the top navigation bar, enter the Apple authentication source page, and click Add Authentication Source.
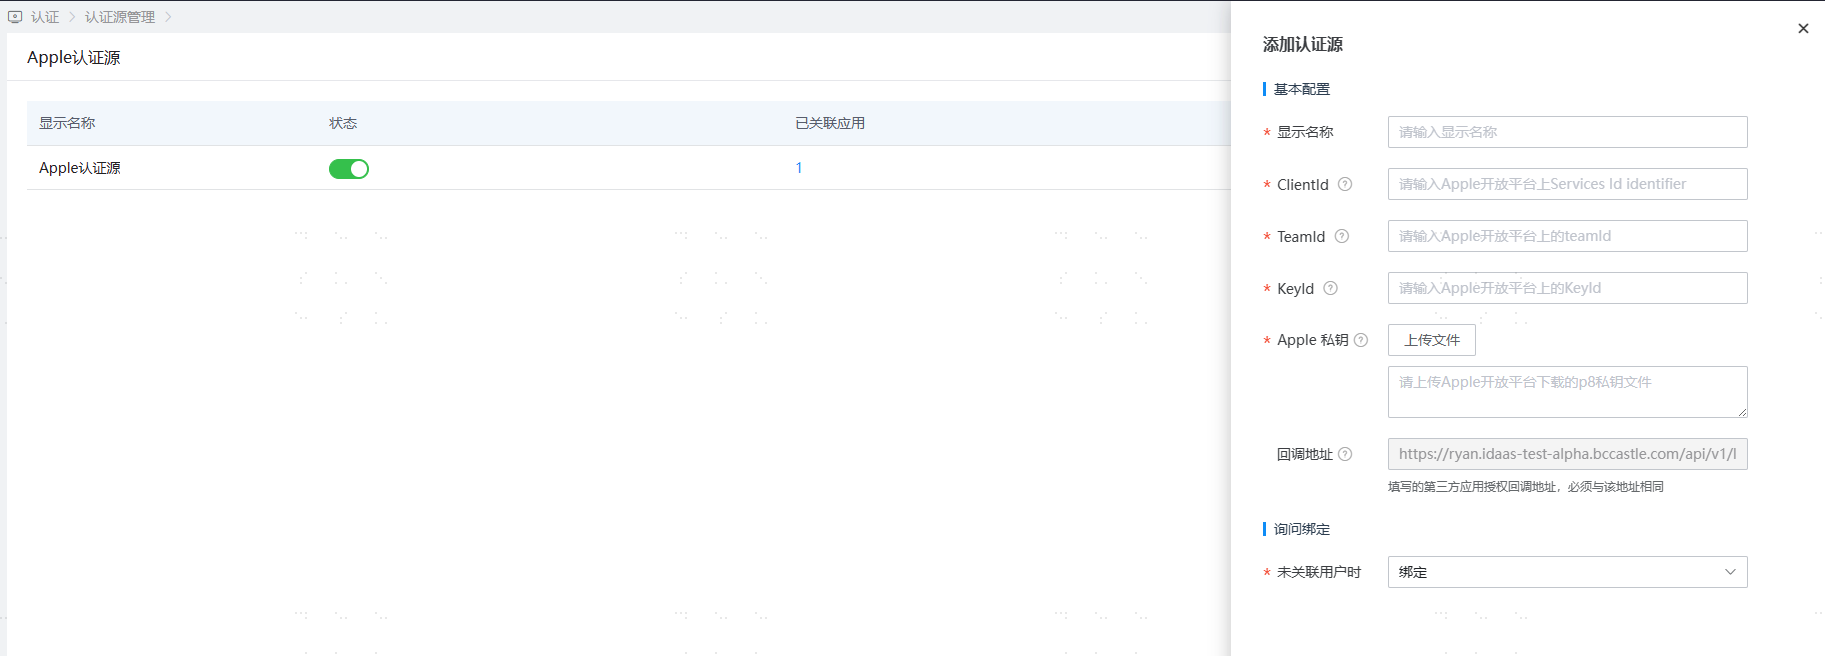
Configure the Apple authentication source parameters as prompted. Key parameters are described below.
TIP
Basic Configuration: After completing the above operations on the Apple Developer Platform, you can obtain the following basic configurations.
- TeamId: A ten-digit enterprise/individual account number.
- ClientId: The Identifier of the Services ID registered on the Apple Developer Platform.
- KeyId: The key ID of the just registered Key.
- Apple Private Key: The
.p8file downloaded when registering the Key on the Apple Developer Platform.
When User Not Associated: When the Apple ID unique identifier returned by the Apple Open Platform is not associated with a system user in IDaaS, the optional configurations are as follows.
- Bind: When no user is associated, the page redirects to the corresponding verification page through the set binding method. After entering the SMS verification code successfully, the corresponding existing user can be bound.
- Bind or Register: When no user is associated, enter the SMS verification code. After success, if the mobile number does not exist, enter the registration process, complete the registration information, and then pass authentication and log in.