Office 365 China Version Single Sign-On (WS-Federation)
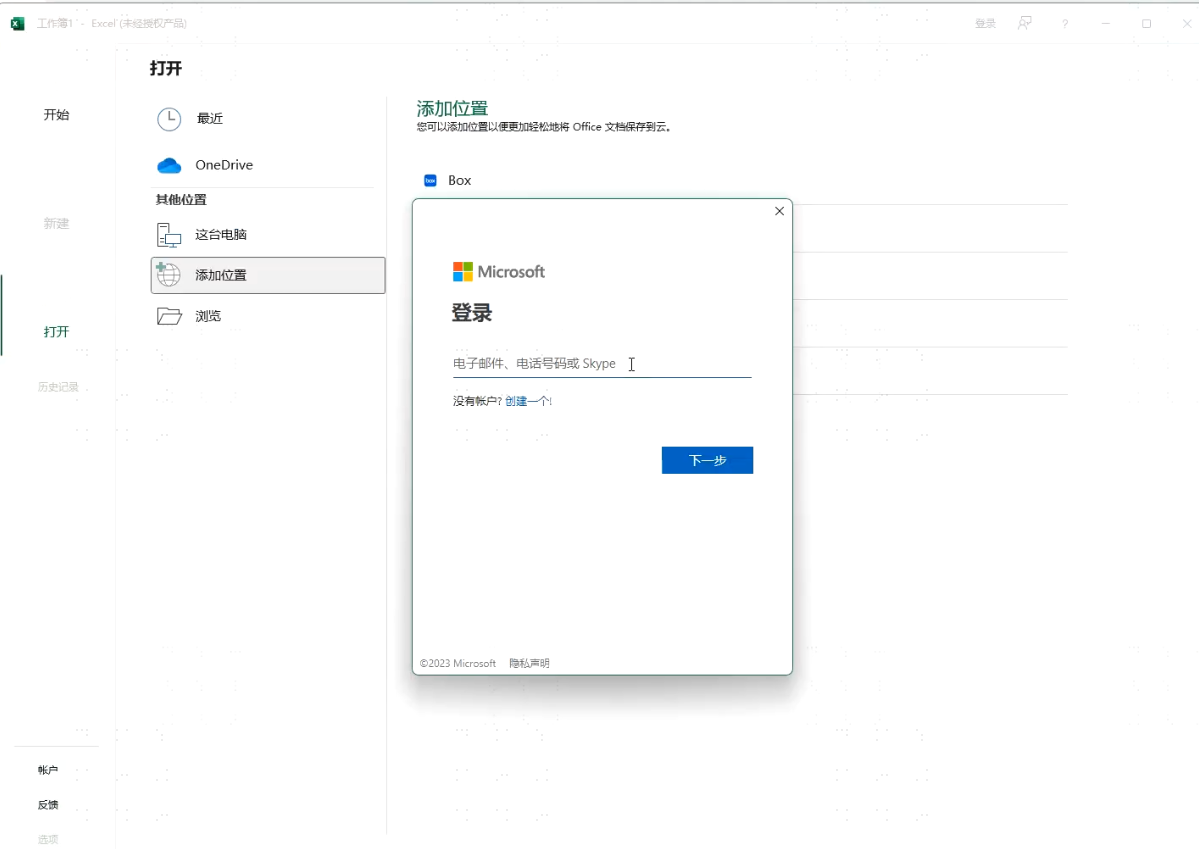
This article describes how to configure BambooCloud IDaaS single sign-on to Office 365 China version. This integration uses the WS-Fed protocol and supports three scenarios: web version Office 365 login, Office 365 client login, and Windows host login.
Pre-Integration Preparation
Office 365 (China Version) Side Preparation
1. Create Domain
If using a domain name provided by the customer, skip this step.
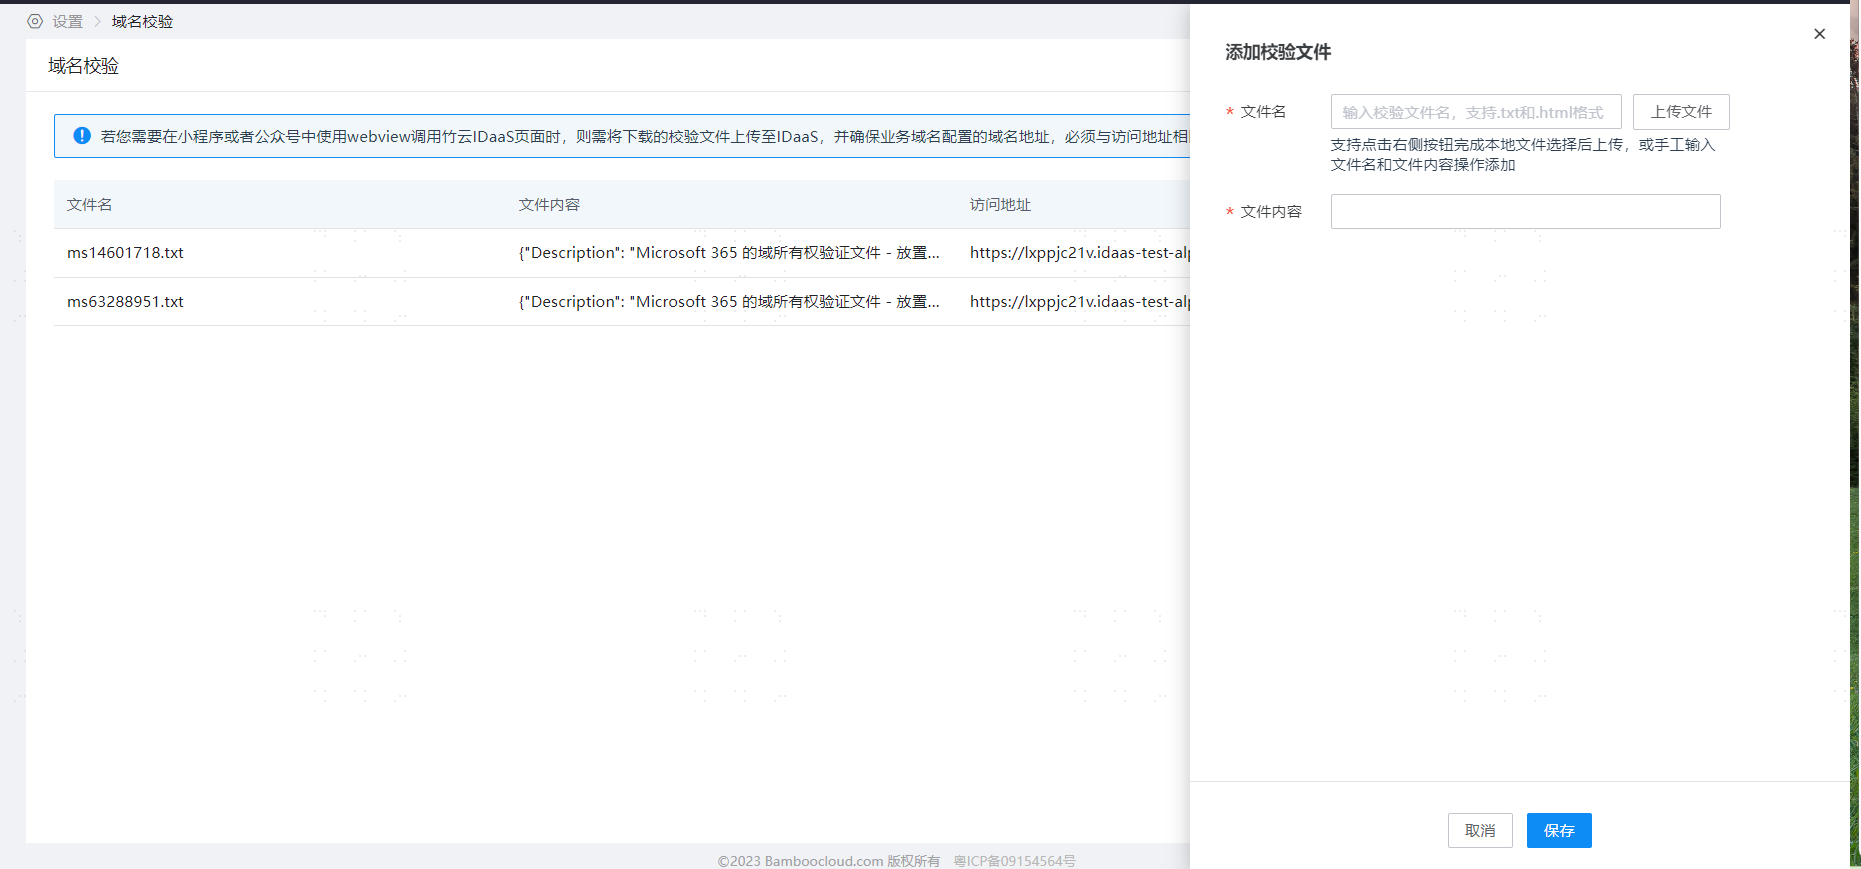
If using the IDaaS tenant default domain name, the domain verification work is completed by the implementer in the tenant's Enterprise Center - Settings - Domain Verification. As shown below:
2. Create Office 365 Users
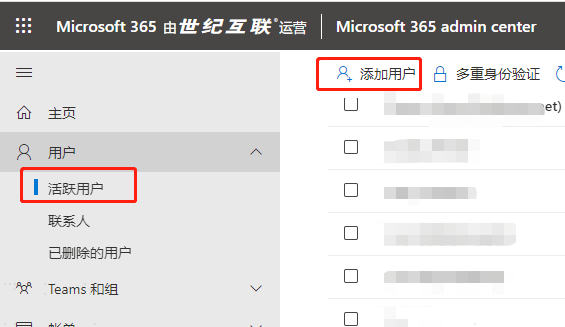
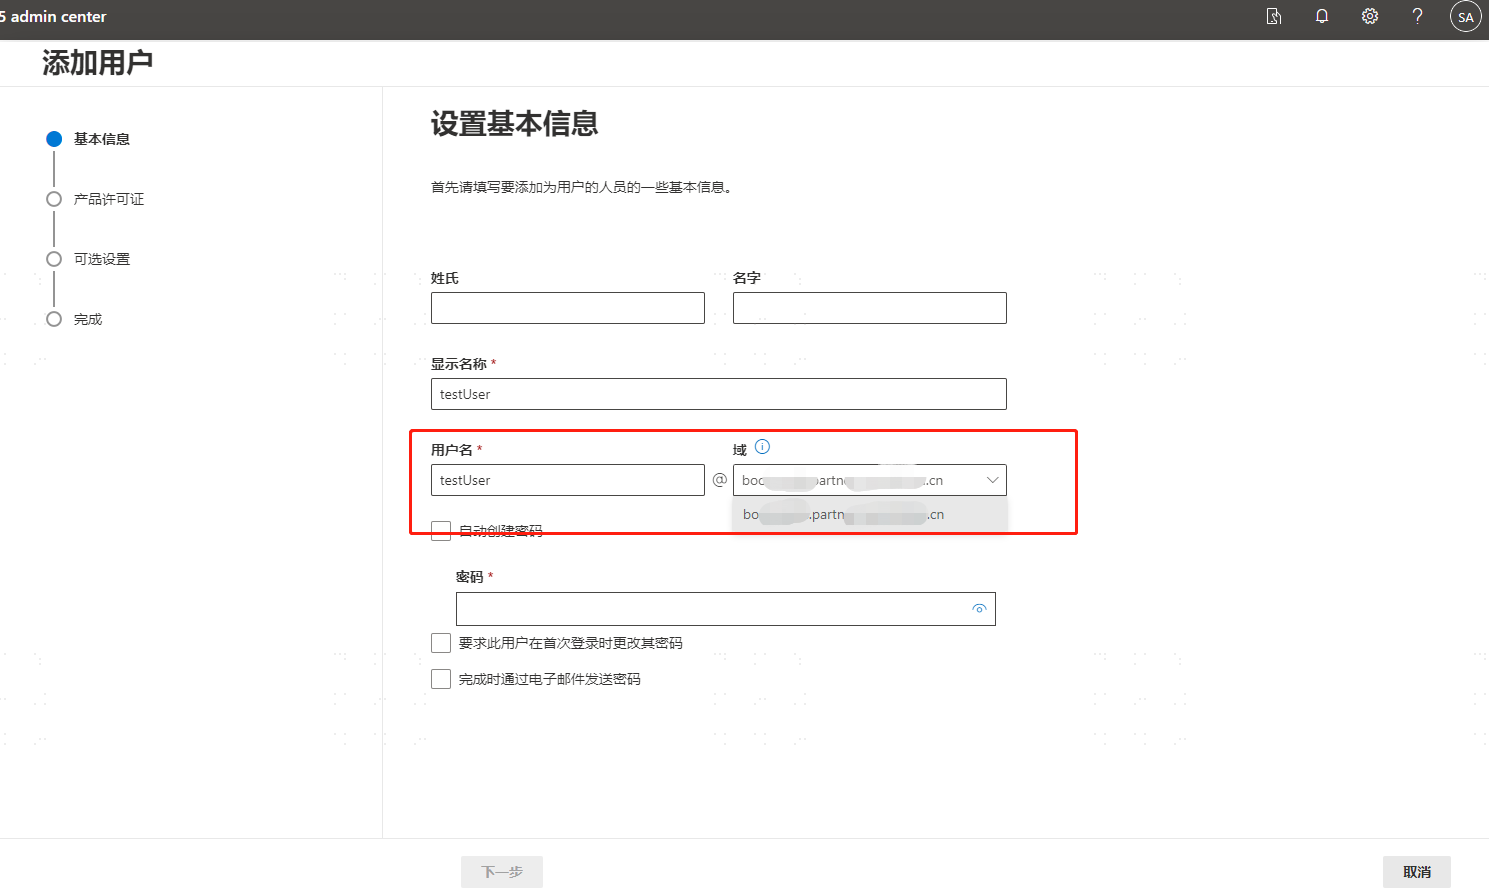
Visit: https://portal.partner.microsoftonline.cn/ Office 365 management backend to add users.
The created user must be bound to the domain created in the previous step.
BambooCloud IDaaS Side Preparation
1. Create Office 365 China Version Pre-integrated Application
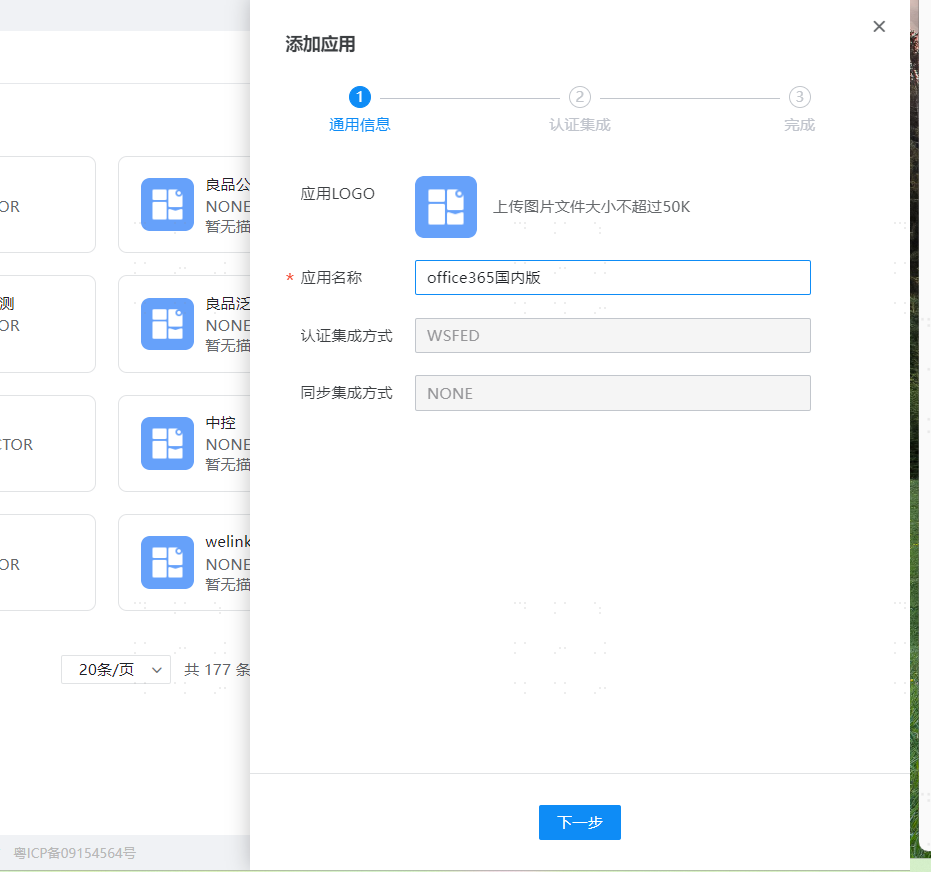
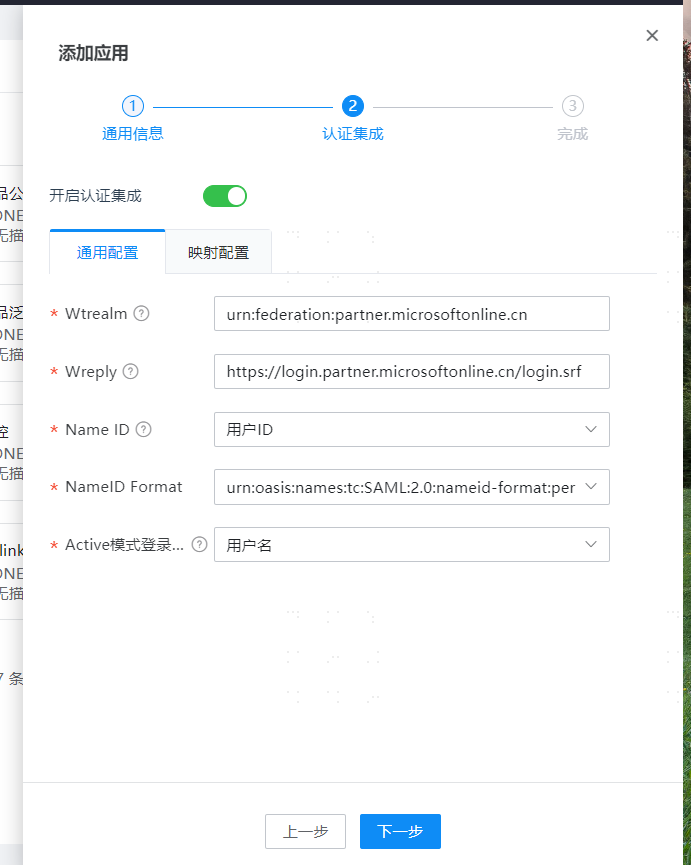
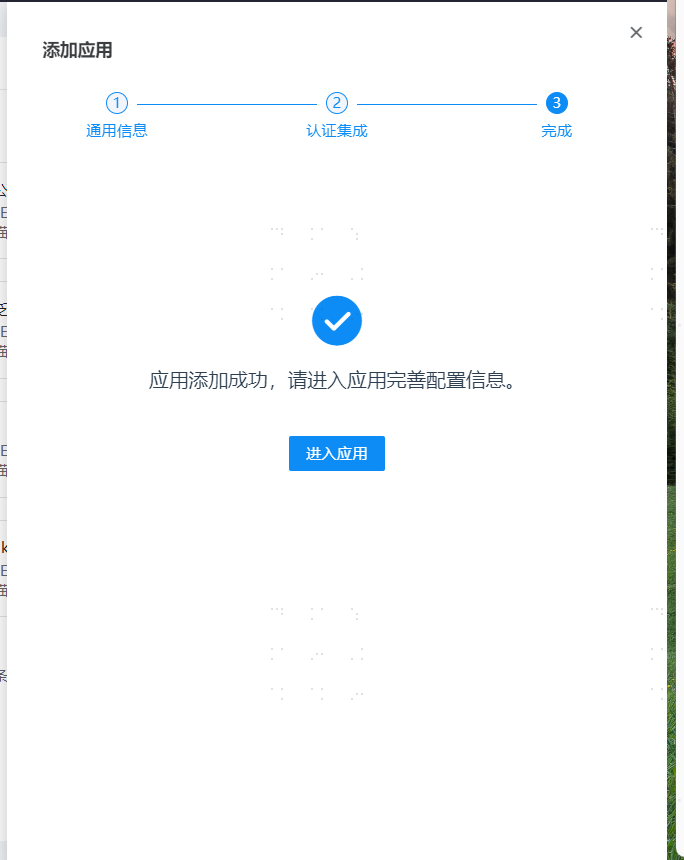
2. Authorize Users
Authorization Management > Application Account > Add Account.
3. User Attribute Association
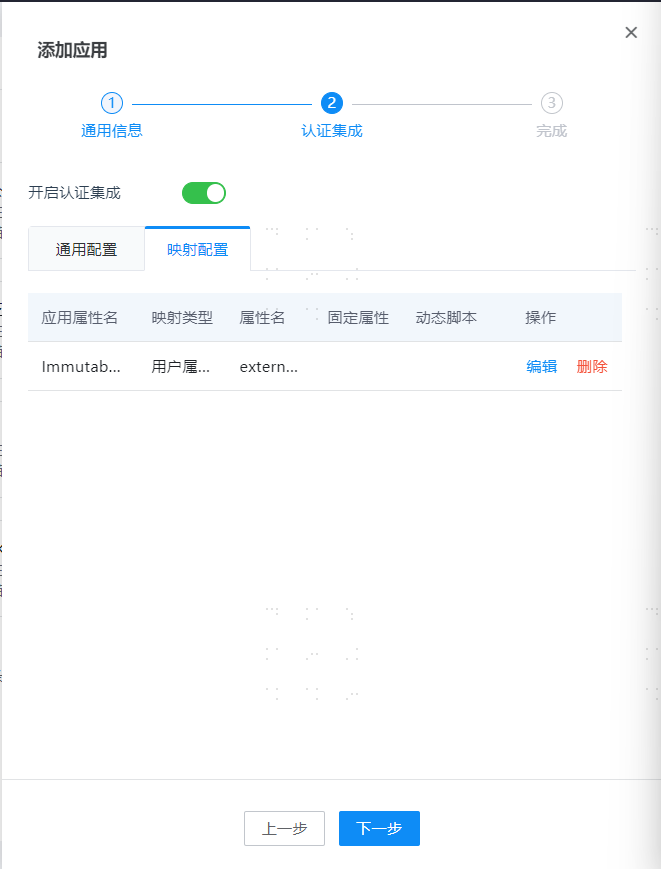
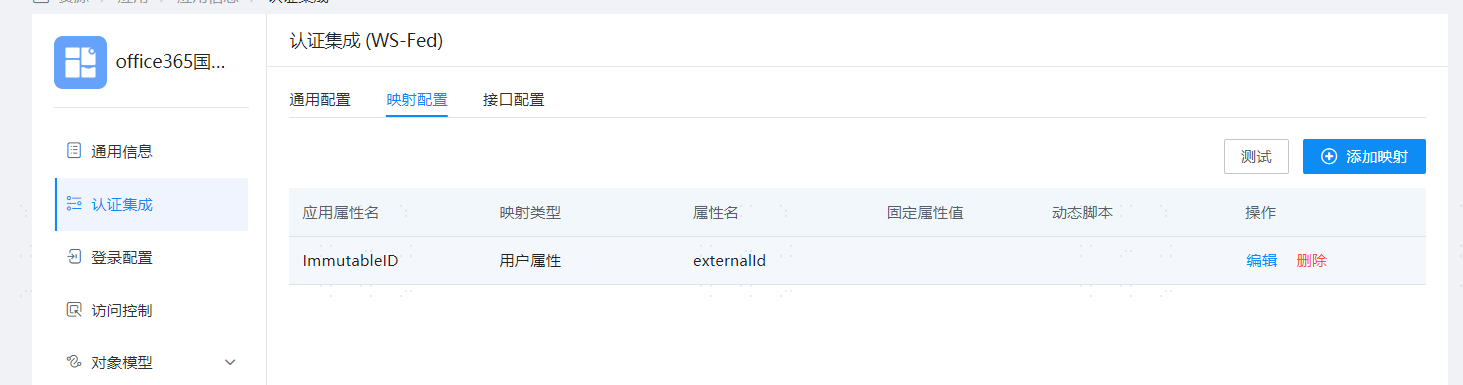
The field exposed by Office 365 externally is ImmutableID. The IDaaS default corresponding field is externalid.
If modification is needed, go to the mapping configuration to modify it.
Note: Ensure that the ImmutableID of the user in Office 365 (how to set it will be explained later) is consistent with the externalid value of the IDaaS user.
4. Prepare WS-Fed Protocol Configuration Parameters
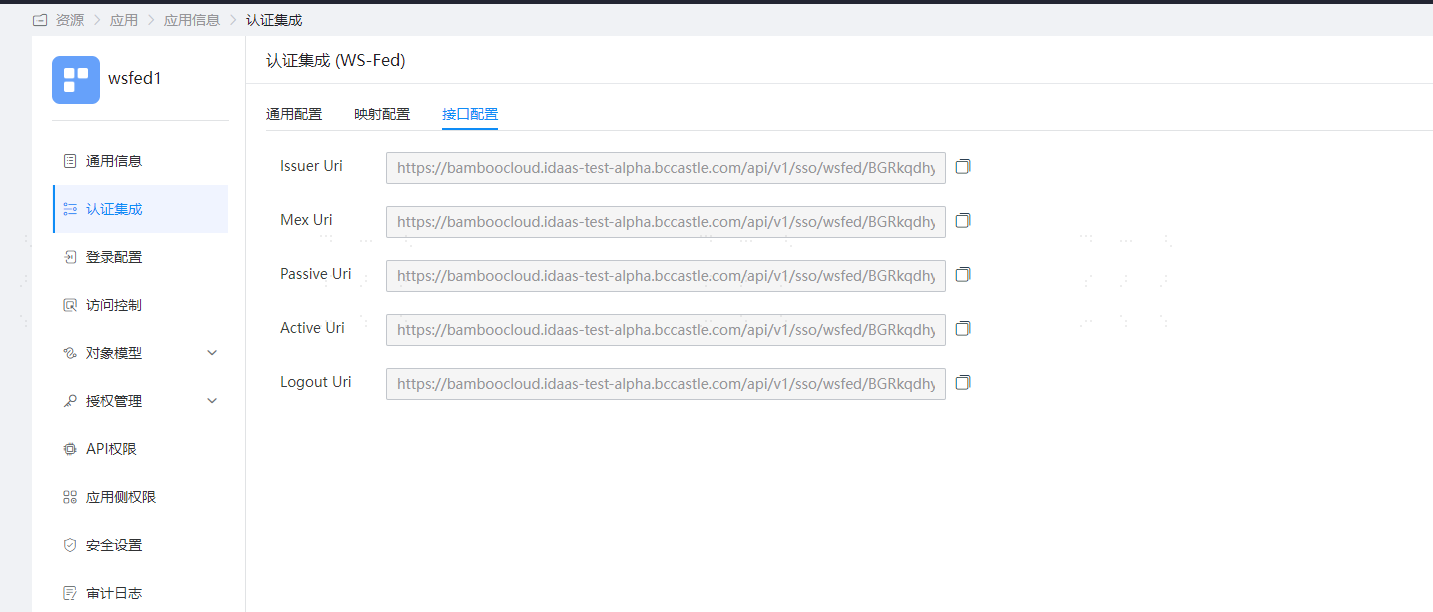
Enter the application and open Authentication Integration, switch to Interface Configuration, as shown below:
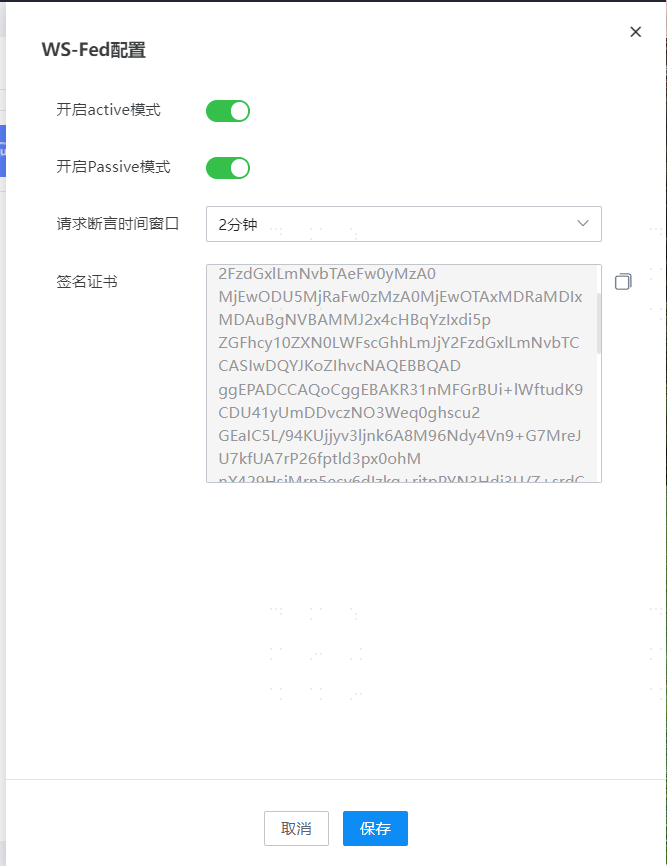
Enter the Enterprise Center - Settings > Service Configuration, and open WS-Fed Configuration as shown below:
Authentication Integration
Execute PowerShell commands to set WS-Fed configuration (the fourth point in the BambooCloud IDaaS preparation chapter above introduced how to prepare WS-Fed protocol configuration parameters). The configuration is as follows:
# PowerShell needs to install the module first, which may require internet access
Install-Module MSOnline

# After the module is installed successfully, execute the following command
Connect-MsolService  -AzureEnvironment AzureChinaCloud (a pop-up window will appear, complete login authentication)

# Add domain federation configuration (each parameter is obtained in the fourth point of IDaaS preparation)
Set-MsolDomainAuthentication  -DomainName xx.bccastle.com -Authentication Federated -FederationBrandName idaas-ws -IssuerUri https://xx.bccastle.com/api/v1/sso/wsfed/Ffm8YwZ1pi7loYqcTg86I5g6H -PassiveLogOnUri https://xx.bccastle.com/api/v1/sso/wsfed/Ffm8YwZ1pi7loYqcTg86I5g6H/passive -ActiveLogOnUri https://xx.bccastle.com/api/v1/sso/wsfed/Ffm8YwZ1pi7loYqcTg86I5g6H/active -MetadataExchangeUri https://xx.bccastle.com/api/v1/sso/wsfed/Ffm8YwZ1pi7loYqcTg86I5g6H/mex -LogOffUri https://xx.bccastle.com/api/v1/sso/wsfed/Ffm8YwZ1pi7loYqcTg86I5g6H/logout -SigningCertificate MIIC2DCCAcCgAwIBAgIGAYcwlcLAMA0GCSqGSIb3DQEBCwUAMC0xKzApBgNVBAMMInJ5YW4uaWRhYXMtdGVzdC1hbHBoYS5iY2Nhc3RsZS5jb20wHhcNMjMwMzMwMDMzMzUzWhcNMzMwMzMwMDMzNTMzWjAtMSswKQYDVQQDDCJyeWFuLmlkYWFzLXRlc3QtYWxwaGEuYmNjYXN0bGUuY29tMIIBIjANBgkqhkiG9w0BAQEFAAOCAQ8AMIIBCgKCAQEAkVsNRWM+UPDQcHz2VdaTJn22v21TFLkRBqOcQmQJhlBg1tUgL5zbxO/4OyGDsraTY4e+vjPKcfmJpM/KvNOpjz7HY9EZelW+AWeTFzjg6X5SZMgK8r2hFUXovz2V/vBehtqFlfFc0oJaBdAzKh2/MvH6H7K59zFbQd4ylCzXhR/jFchOuc50EKlTd6wYKW+7xTHVJGe85HkMrOnnKbaJdK0oJH8zNTa3HMiH336UsEK81dlPSpTiSOJgskBfOb8nwneBs+HCzoRW22CDOxrToVFdv5VRUjerl3FDd89vQwIDAQABMA0GCSqGSIb3DQEBCwU3nl4224VMp+aTnDts8z/kQRkxkSFcxWv6MF34wA3pqmCa3GgBadyhk10goWD8VZKdgYwdjhjyGiMMs+ogYC1YCTkMMlULo4745hINmUtJ//tSMCAj7muirFqGbD7+m+Ebe3hVmZYD5gEJYuYG7Z4EWEkGNa3WM+oXJvvGtrIpi4AtedZLY5fCsgka9i3CMIFJ2nLmQzlaClhFxYatvRib3fKQTgb3cq0LLCJQxNJ81miwLHY9QqvXpTRrrQVx7ahyHfxHBRY3gs5NOZKYjlkT6waMpKiCiqug9lywWjm/erpFaM6VeylqZsmXUN4jnaSNcyDV5pl36MCL92hg -SupportsMfa $true

#  Update federation configuration
Set-MsolDomainFederationSettings -DomainName xx.bccastle.com -FederationBrandName idaas-ws -IssuerUri  https://xx.bccastle.com/api/v1/sso/wsfed/Ffm8YwZ1pi7loYqcTg86I5g6H -PassiveLogOnUri https://xx.bccastle.com/api/v1/sso/wsfed/Ffm8YwZ1pi7loYqcTg86I5g6H/passive -ActiveLogOnUri https://xx.bccastle.com/api/v1/sso/wsfed/Ffm8YwZ1pi7loYqcTg86I5g6H/active -MetadataExchangeUri https://xx.bccastle.com/api/v1/sso/wsfed/Ffm8YwZ1pi7loYqcTg86I5g6H/mex -LogOffUri https://xx.bccastle.com/api/v1/sso/wsfed/Ffm8YwZ1pi7loYqcTg86I5g6H/logout -SigningCertificate MIIC2DCCAcCgAwIBAgIGAYcwlcLAMA0GCSqGSIb3DQEBCwUAMC0xKzApBgNVBAMMInJ5YW4uaWRhYXMtdGVzdC1hbHBoYS5iY2Nhc3RsZS5jb20wHhcNMjMwMzMwMDMzMzUzWhcNMzMwMzMwMDMzNTMzWjAtMSswKQYDVQQDDCJyeWFuLmlkYWFzLXRlc3QtYWxwaGEuYmNjYXN0bGUuY29tMIIBIjANBgkqhkiG9w0BAQEFAAOCAQ8AMIIBCgKCAQEAkVsNRWM+UPDQcHz2VdaTJn22v21TFLkRBqOcQmQJhlBg11WJHMFjixzwkPhSKwCFlfFc0oJaBdAzKh2/MvH6H7K59zFbQd4ylCzXhR/jFchOuc50EKlTd6wYKW+7xTHVJGe85HkMrOnnKbaJdK0oJH8zNTa3HUlesGRQAj06/EaPCmMiH336UsEK81dlPSpTiSOJgskBfOb8nwneBs+HCzoRW22CDOxrToVFdv5VRUjerl3FDd89vQwIDAQABMA0GCSqGSIb3DQEBCwUAA4IBAQBwk9A3nl4224VMp+aTnDts8z/kQRkxkSFcxWGgBadyhk10goWD8VZKdgYwdjhjyGiMMs+ogYC1YCTkMMlULo4745hINmUtJ//tSMCAj7muirFqGbD7+m+Ebe3hVmZYD5gEJYuYG7Z4EWEkGNa3WM+oXJvvGtrIpi4AtedZLY5fCsgka9i3CMIFJ2nLmQzlaClhFxYatvRib3fKQTgb3cq0LLCJQxNJ81miwLHY9QqvXpTRrrQVx7ahyHfxHBRY3gs5NOZKYjlkT6waMpKiCiqug9lywWjm/erpFaM6VeylqZsmXUN4jnaSNcyDV5pl36MCL92hg -SupportsMfa $true

# View federation domain configuration
Get-MsolDomainFederationSettings  -DomainName xx.bccastle.com

# Set AAD user ImmutableID attribute, consistent with IDaaS user NameId attribute
Set-MSOLuser -UserPrincipalName  test1@xx.bccastle.com -ImmutableID  test1

# View AAD user ImmutableID attribute value
Get-MSOLuser -UserPrincipalName  test1@xx.bccastle.com  | select ImmutableId
Scenario Verification
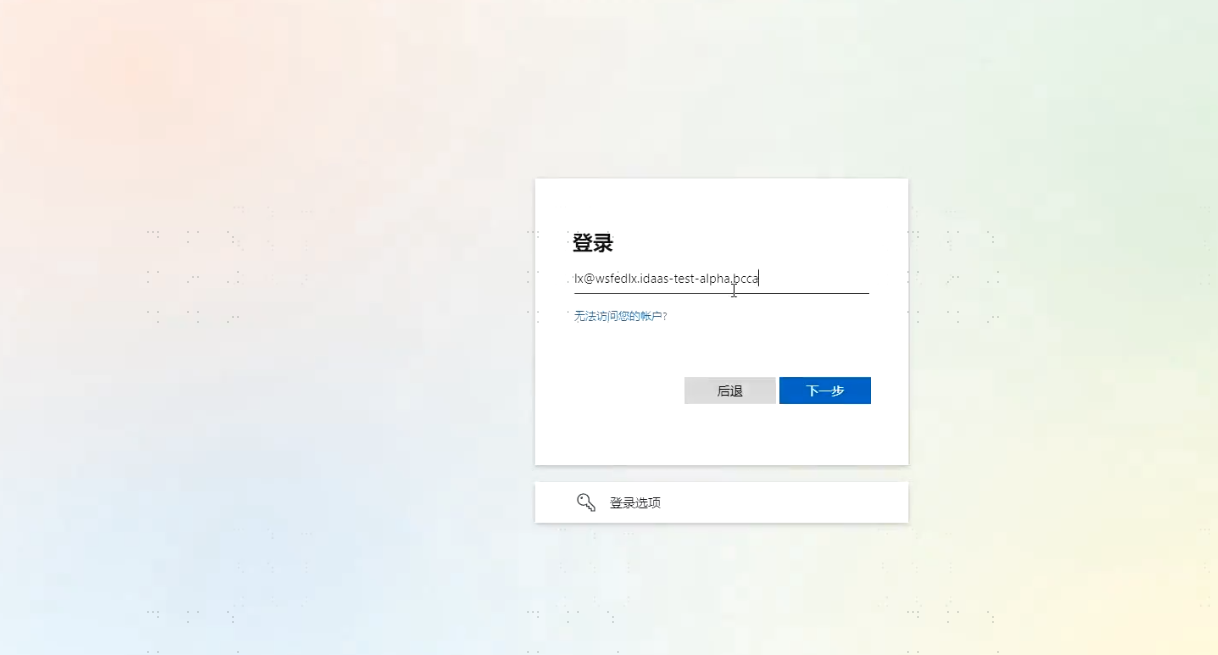
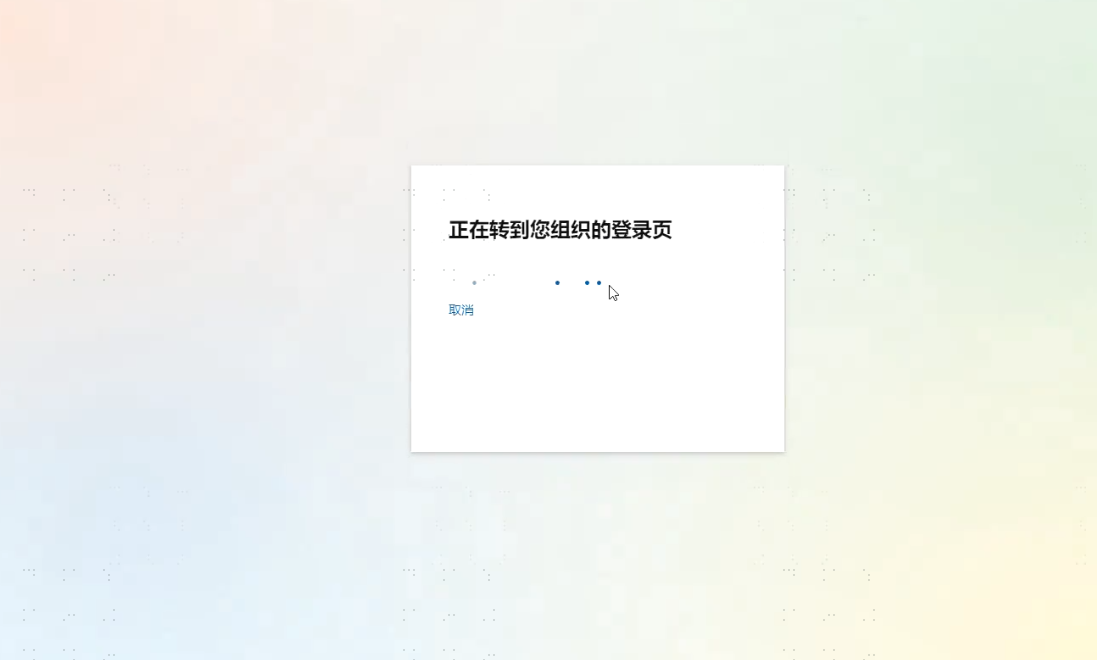
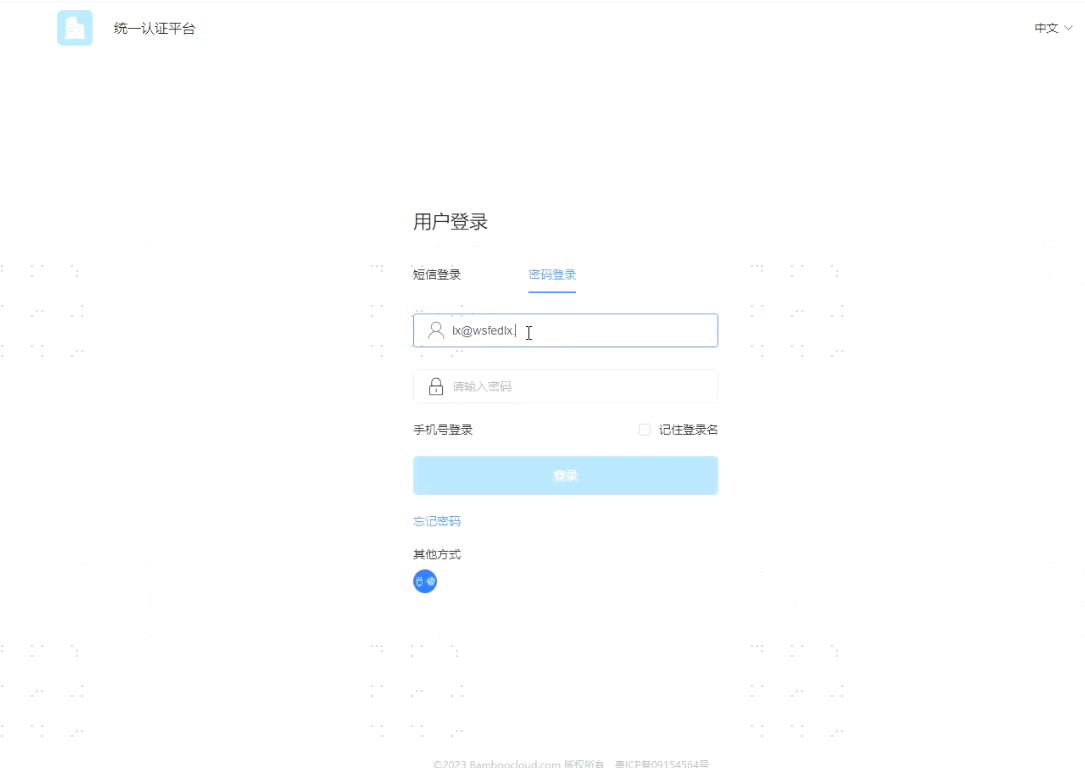
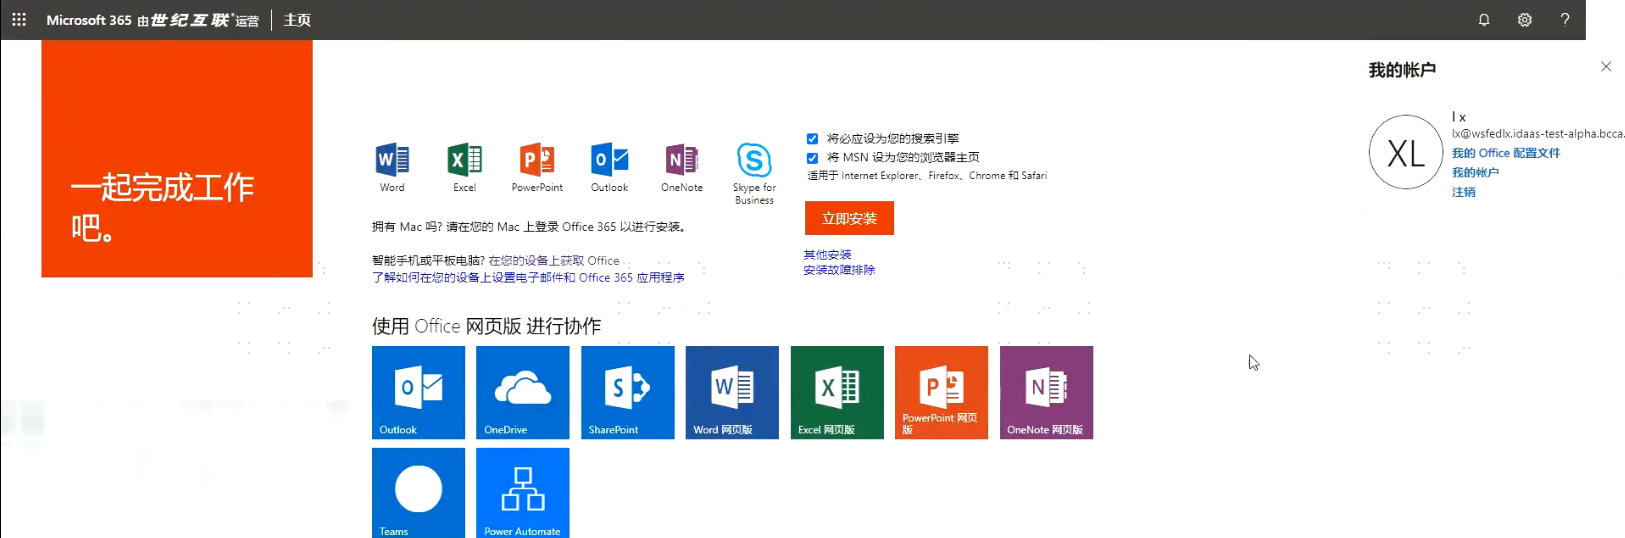
1. Web-side test access to Office 365 portal
Portal address: https://portal.partner.microsoftonline.cn/
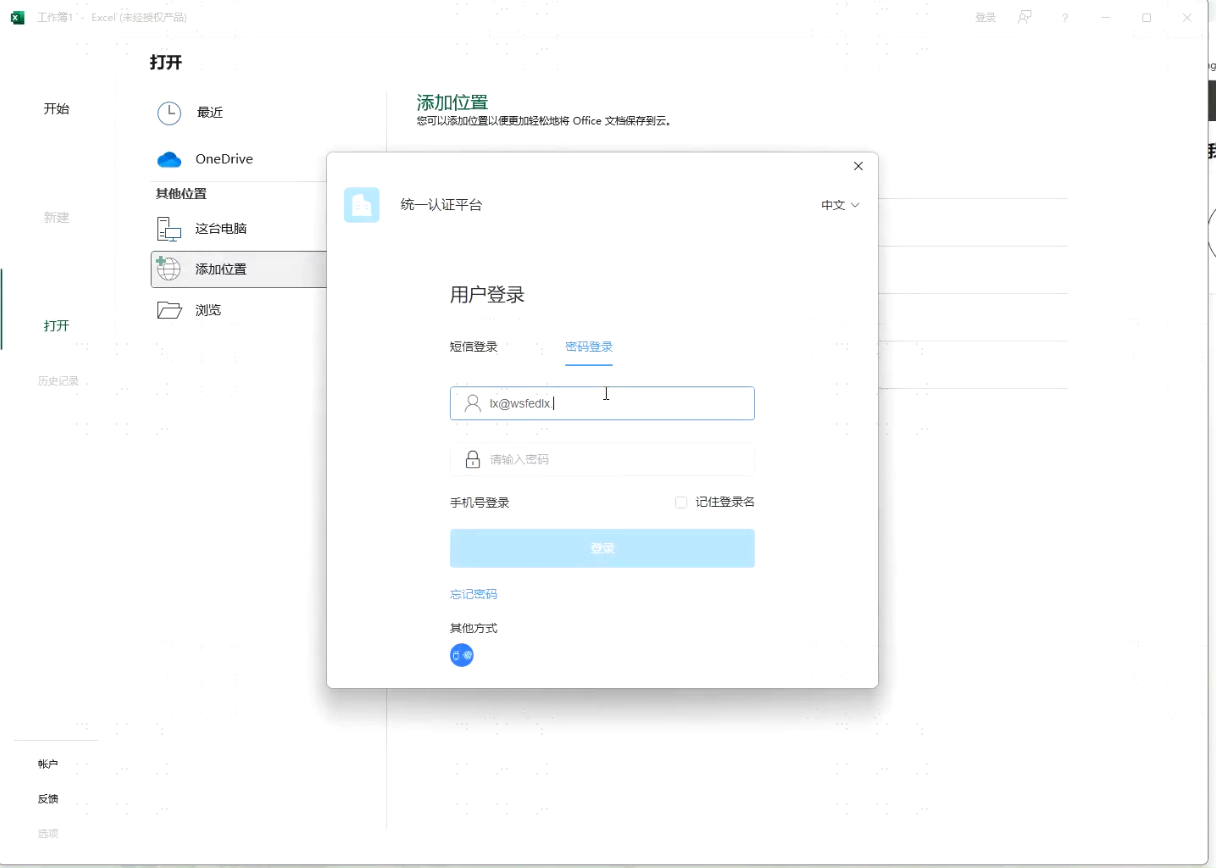
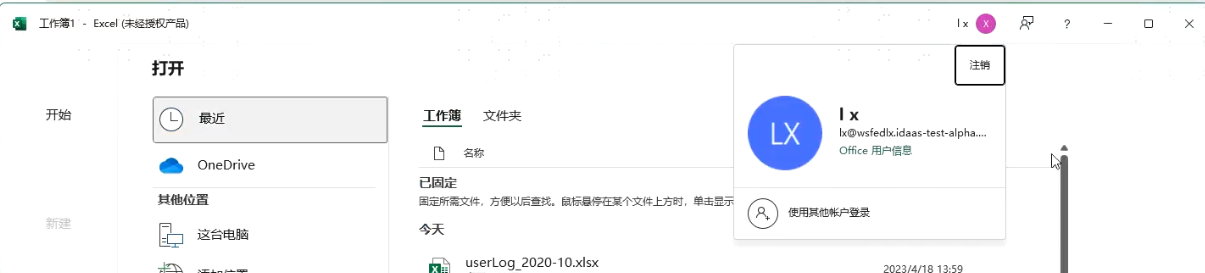
2. Office client login using IDaaS account
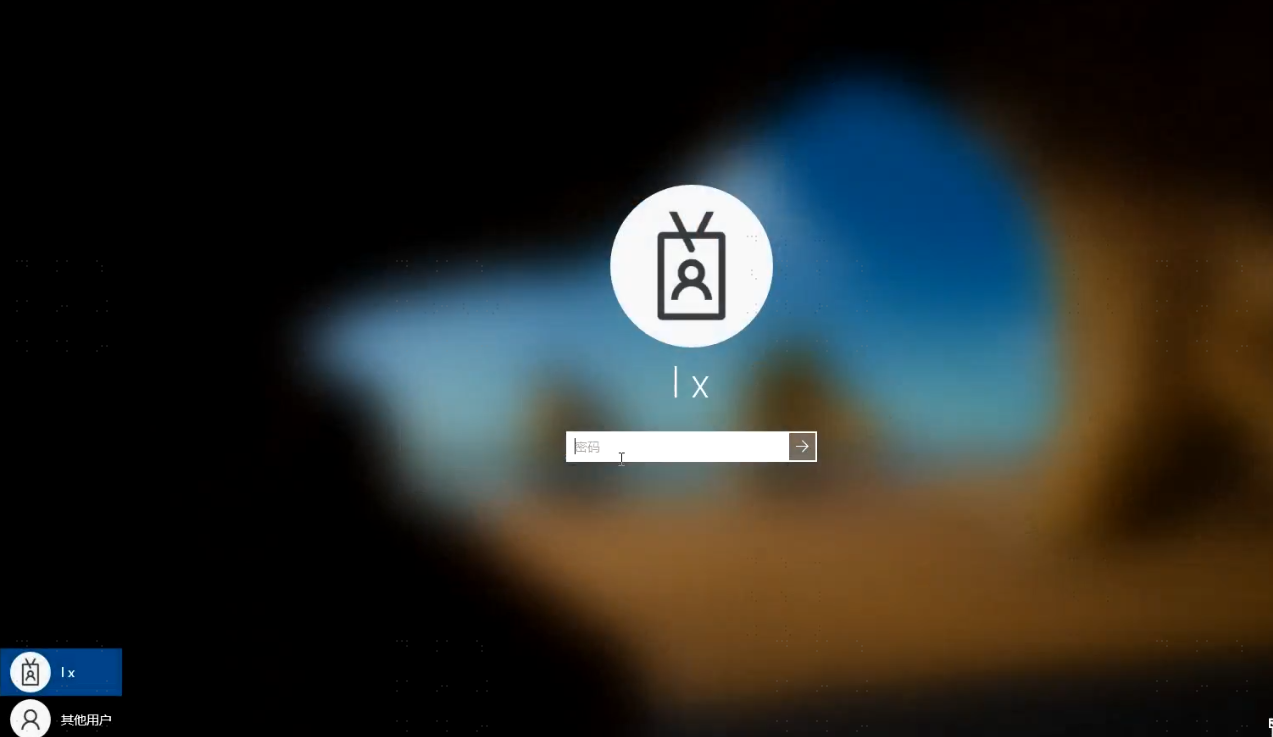
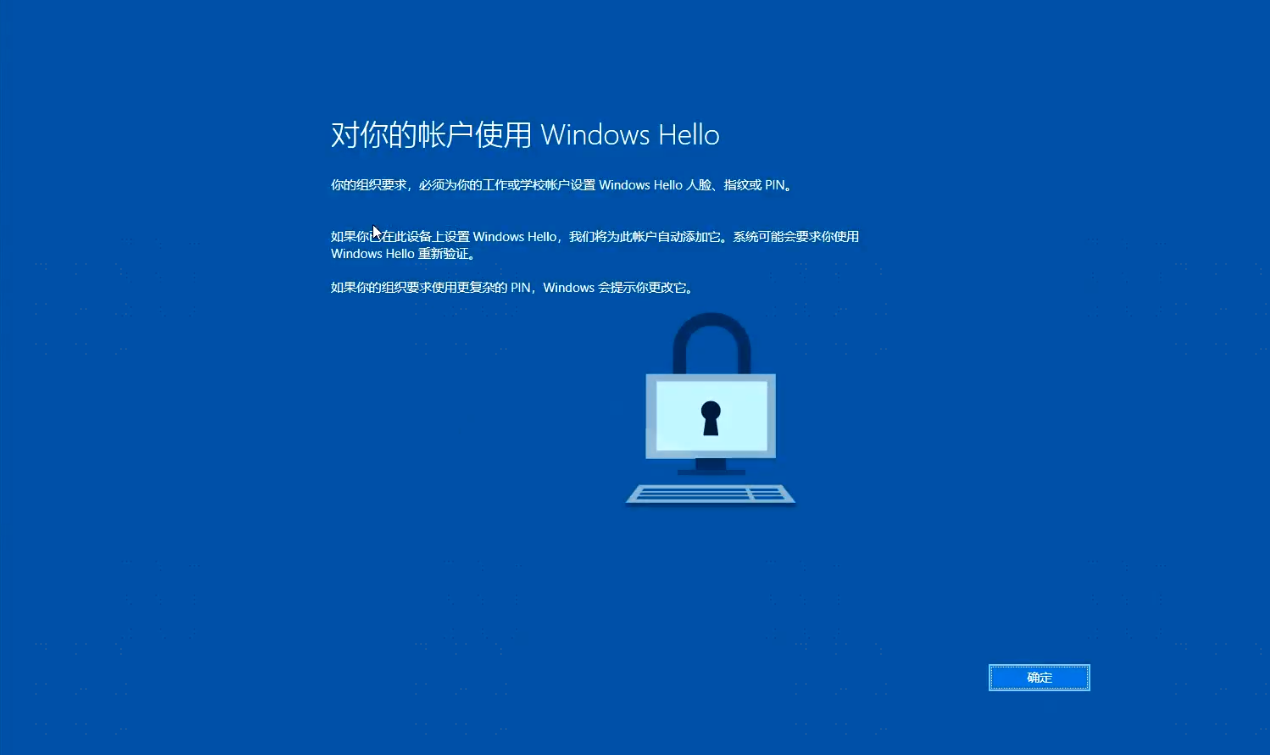
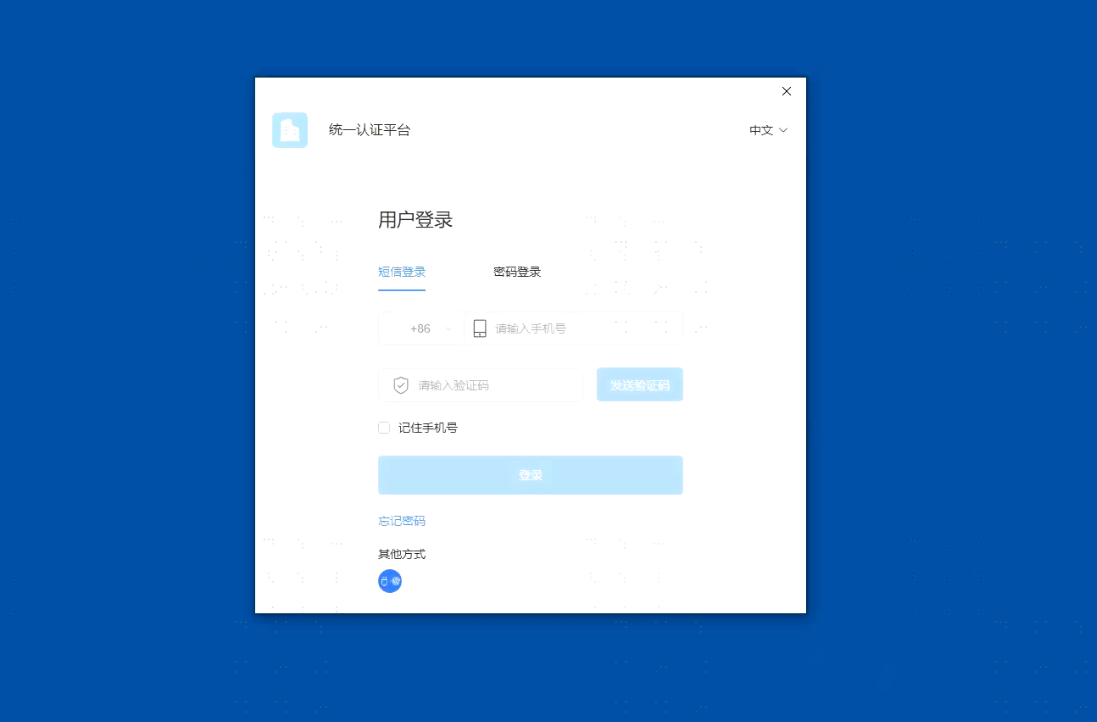
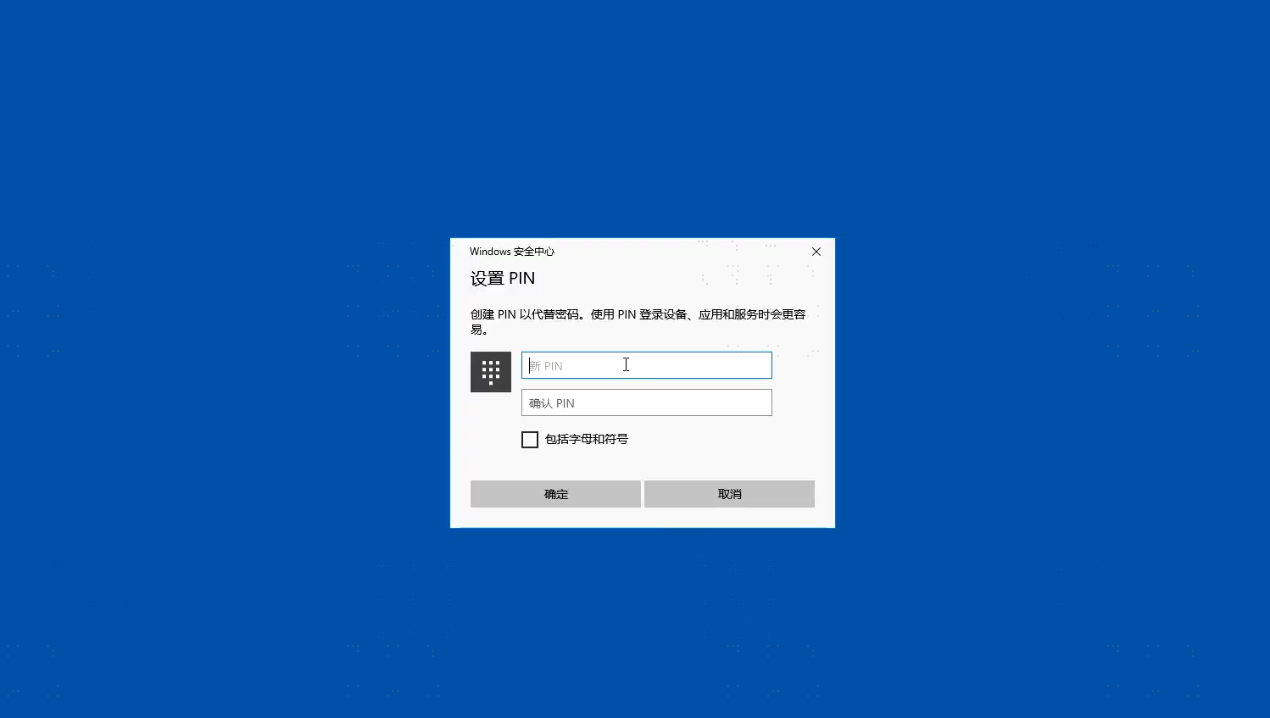
3. Windows host login using IDaaS account
After joining the host to AAD, you can use the IDaaS account to log in to the Windows host.