
Salesforce Single Sign-On
Overview
This article describes the single sign-on configuration process between Salesforce and BambooCloud IDaaS based on the SAML protocol.
Authentication Configuration
Salesforce Configuration
Enter the Salesforce homepage and select Settings.

Go to Identity > Single Sign-On Settings > Edit, and enable SAML.
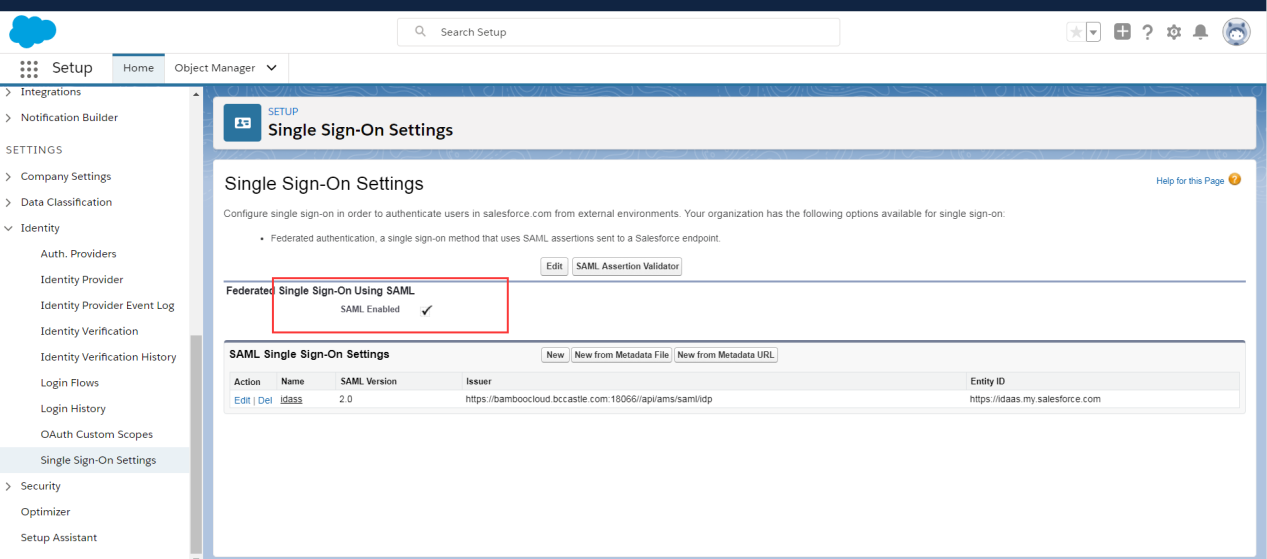
Go to Identity > Single Sign-On Settings > New.
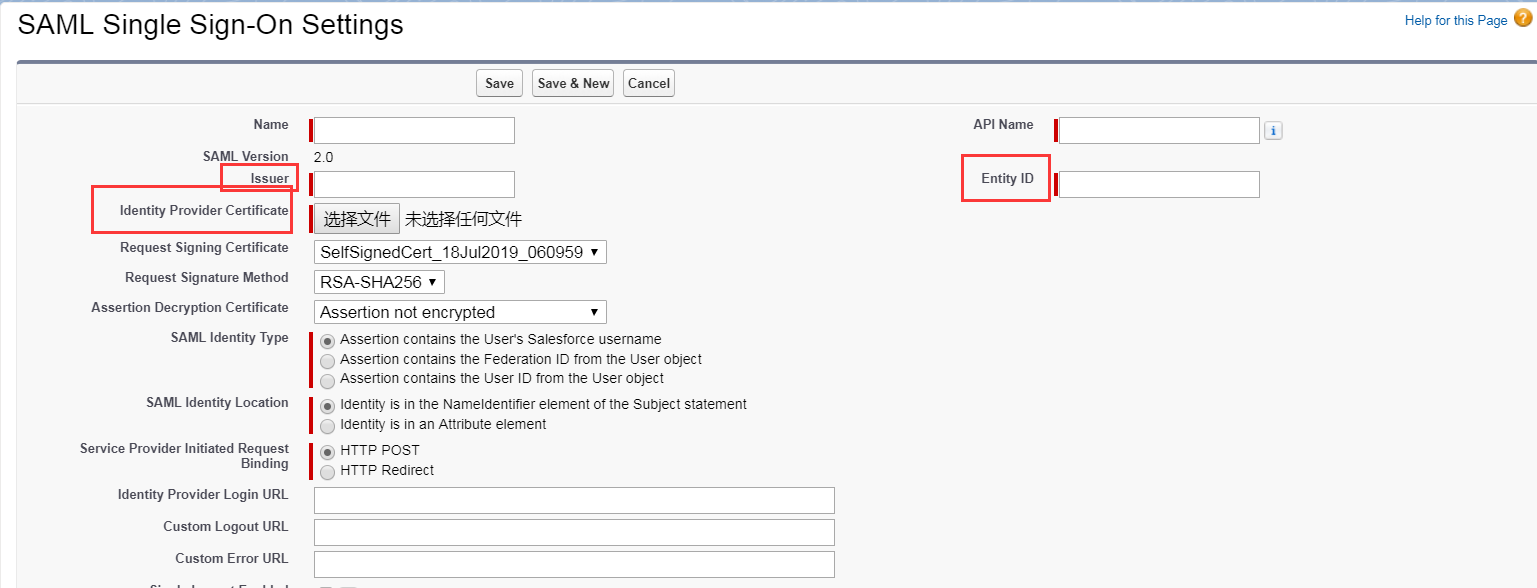
Issuer: EntityId in the IDP metadata
Identity Provider Certificate: The certificate content in the IDP metadata saved as a cer format file
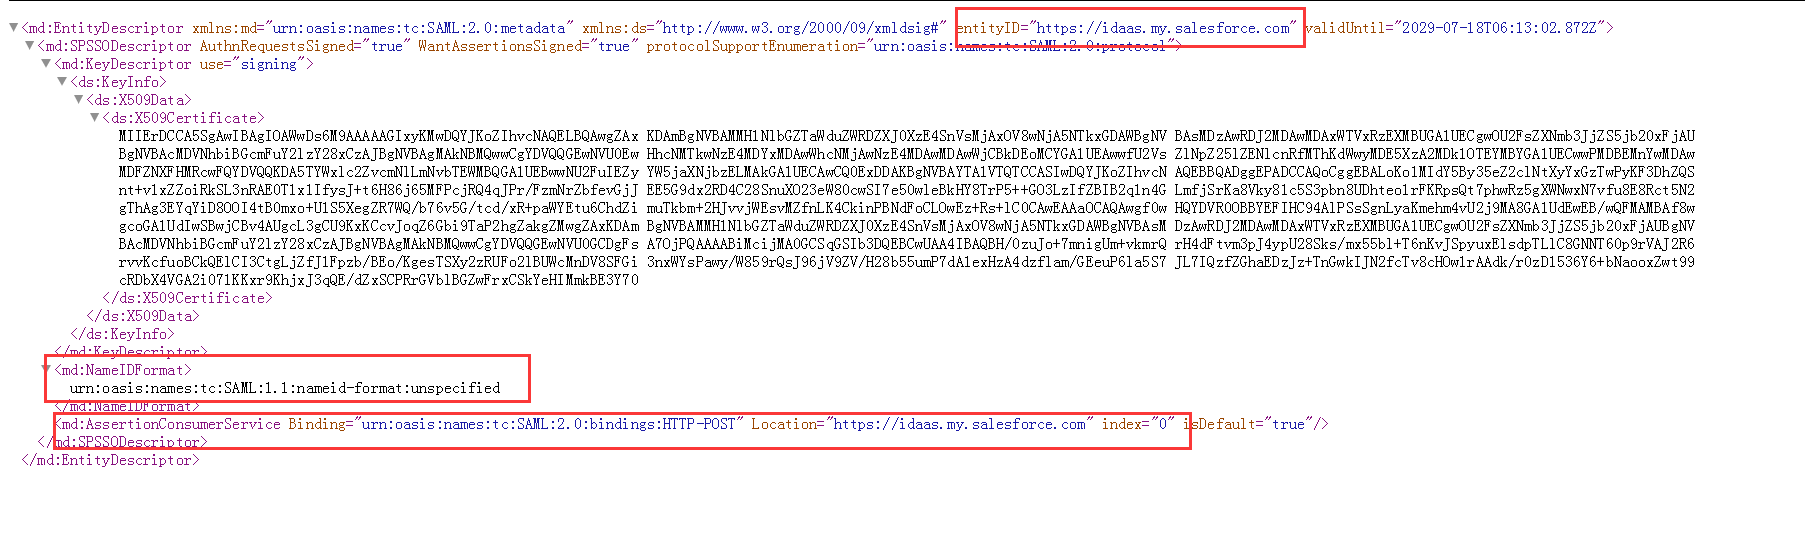
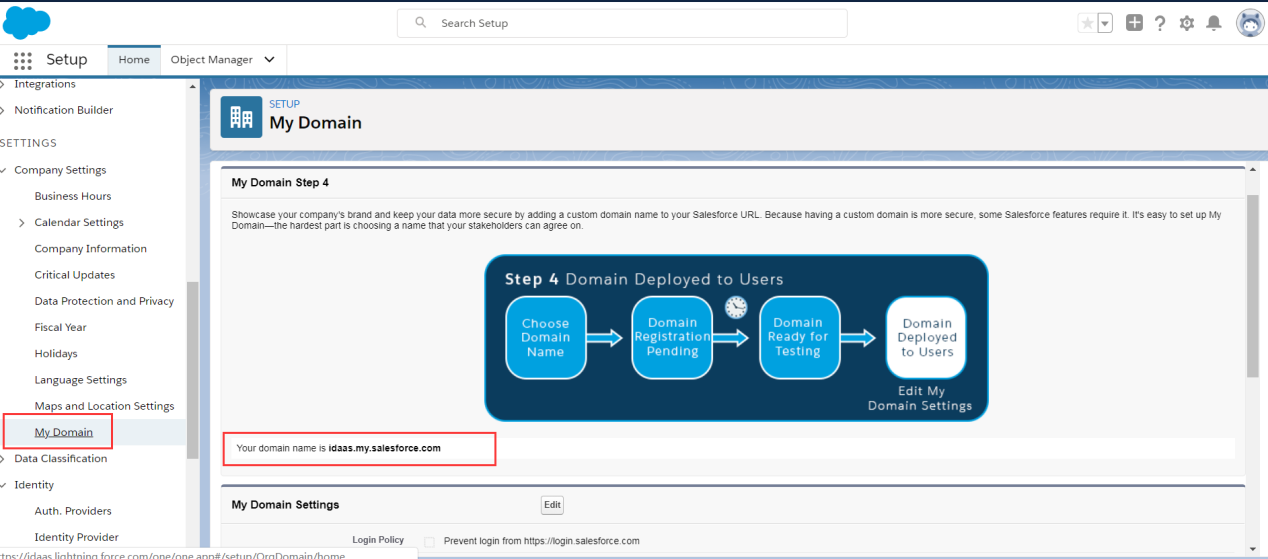
EntityID: Domain name, which needs to be set up in Salesforce in advance
Identity Provider Login URL: The Location content of the SingleSignOnService tag in the IDP metadata
To download BambooCloud IDaaS IDP metadata, visit
https://{your_domain}/api/v1/saml2/idp/metadata.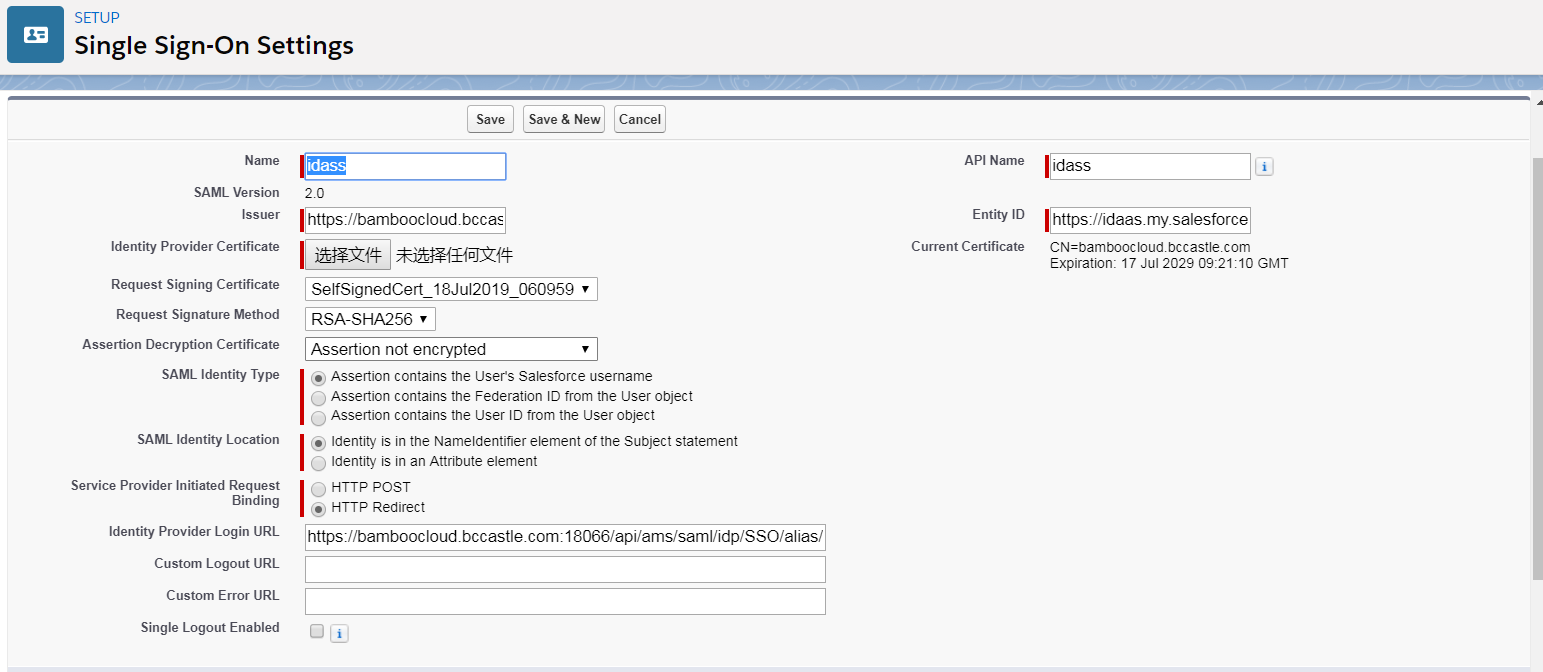
View the newly created single sign-on settings.
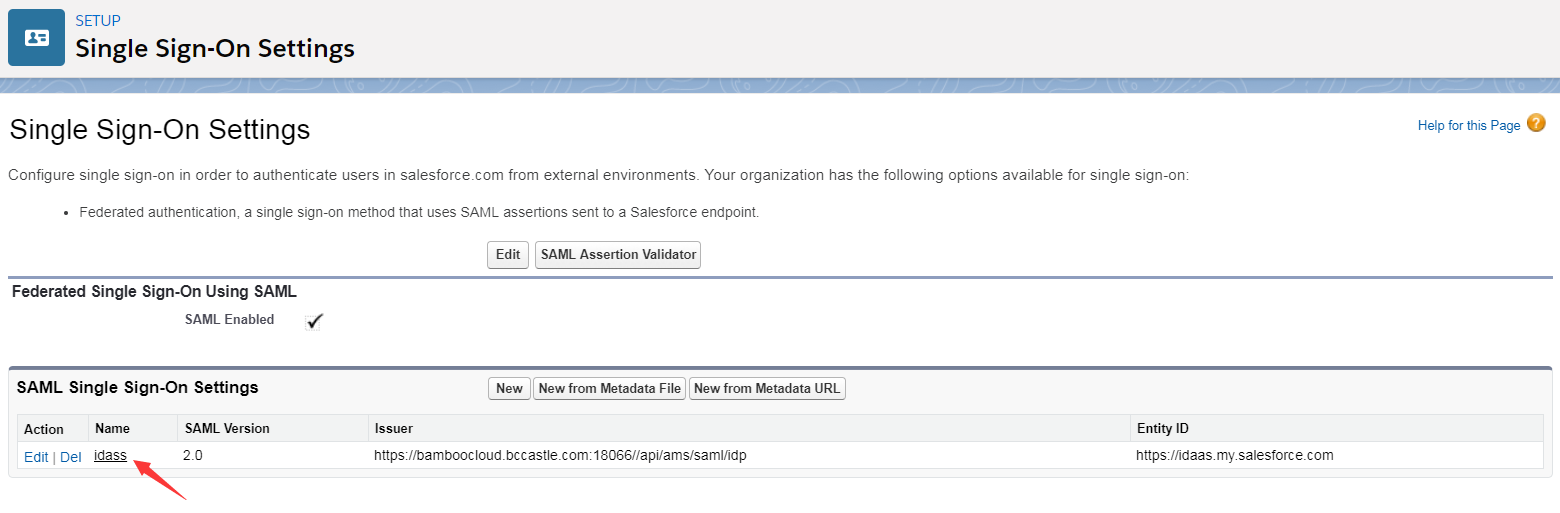
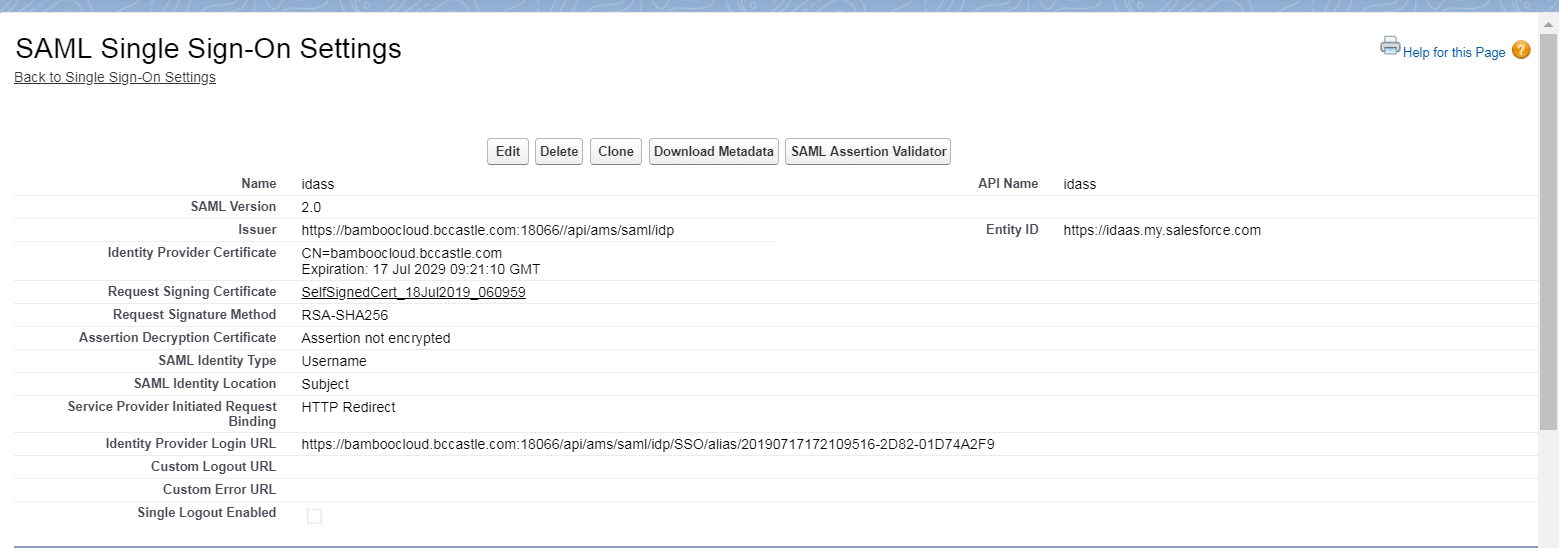
Download and view the metadata. The red-marked content will be used in the next step.

Set the Salesforce domain name.
BambooCloud IDaaS Configuration
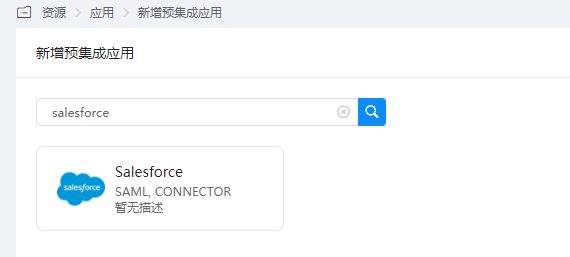
Add the pre-integrated application Salesforce.
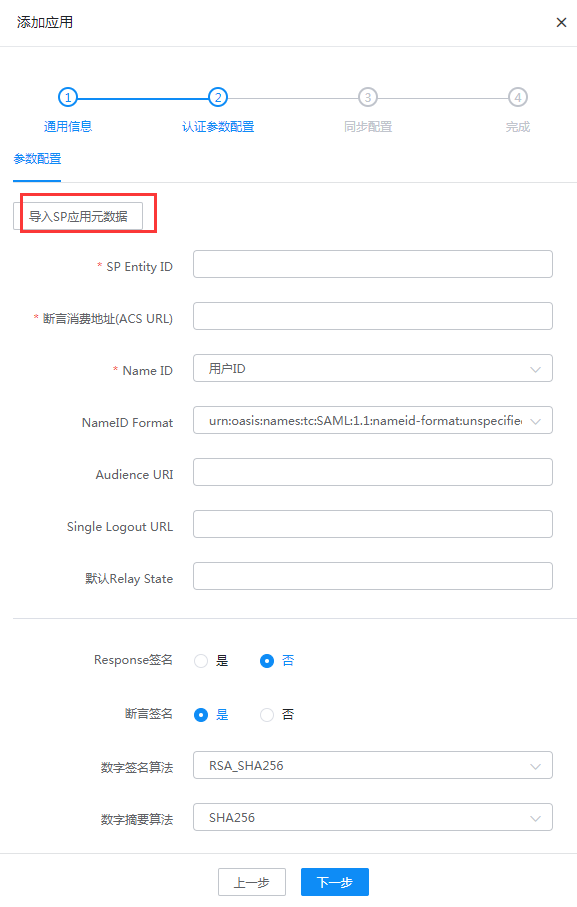
Configure authentication parameters and import Salesforce metadata.
SP EntityID or Issuer: Fill in the
entityIDin the XML file from step 3AudienceURI: Same as above
ACS URL: Fill in the Location content in the
AssertionConsumerServicetag of the SP XML fileNameID: Select email
NameID Format: Select the content corresponding to NameID Format in the XML file from step 3
Enter the application details, Authorization Management > Application Account, click the Add Account button, and select the authorized user.
Change the account name to the email of the user in Salesforce.
Login Verification
Log in to the BambooCloud IDaaS User Center and click the Salesforce logo to enter Salesforce.