Sentry Single Sign-On
Overview
This article describes how to configure SAML authentication integration between BambooCloud IDaaS and Sentry. Reference document
Authentication Configuration
Obtain Sentry SAML Metadata
Metadata address: https://sentry.io/saml/metadata/{organization_slug}/, save as an XML file.

Obtain BambooCloud IDaaS IDP Metadata
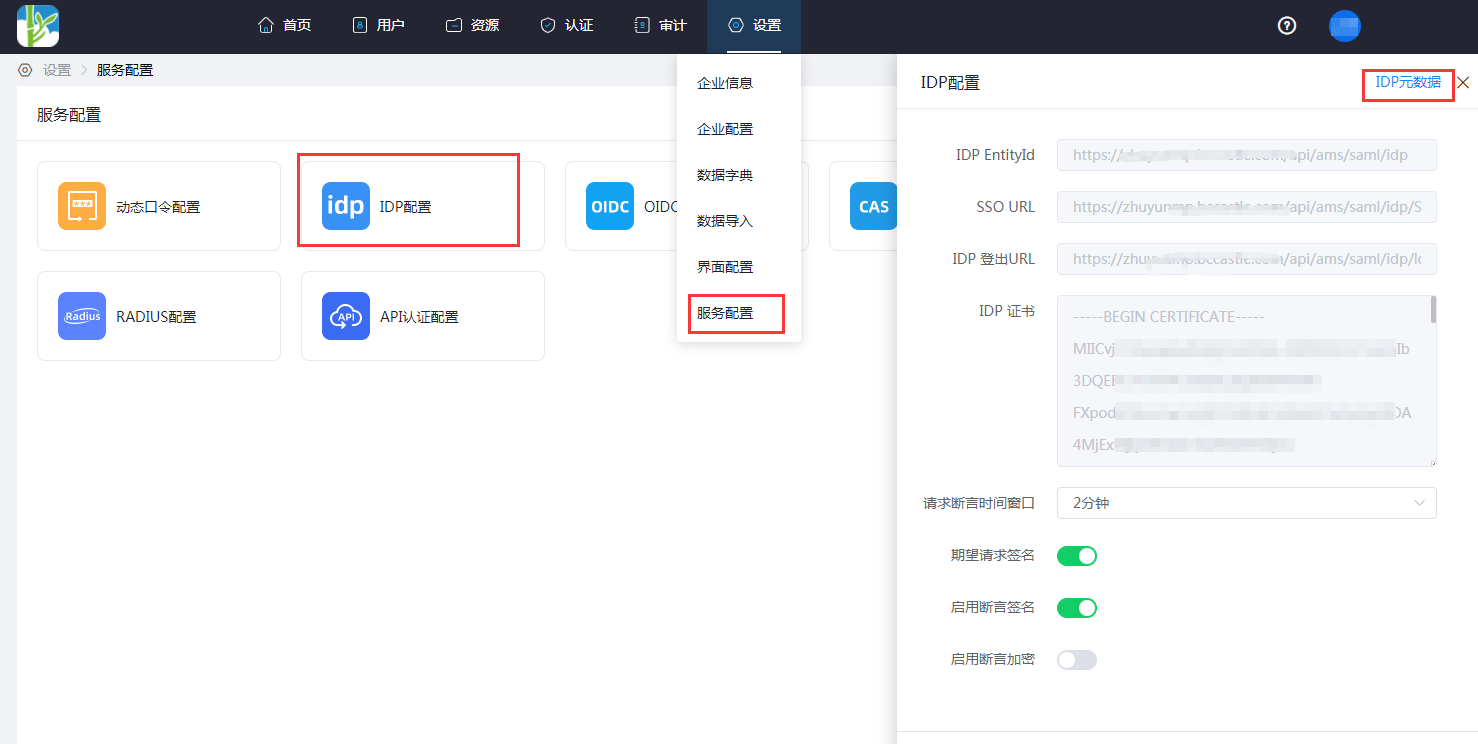
Log in to the BambooCloud IDaaS Enterprise Center, go to Settings > Service Configuration > IDP Configuration, and download the IDP metadata file.
Add Sentry Application on BambooCloud IDaaS
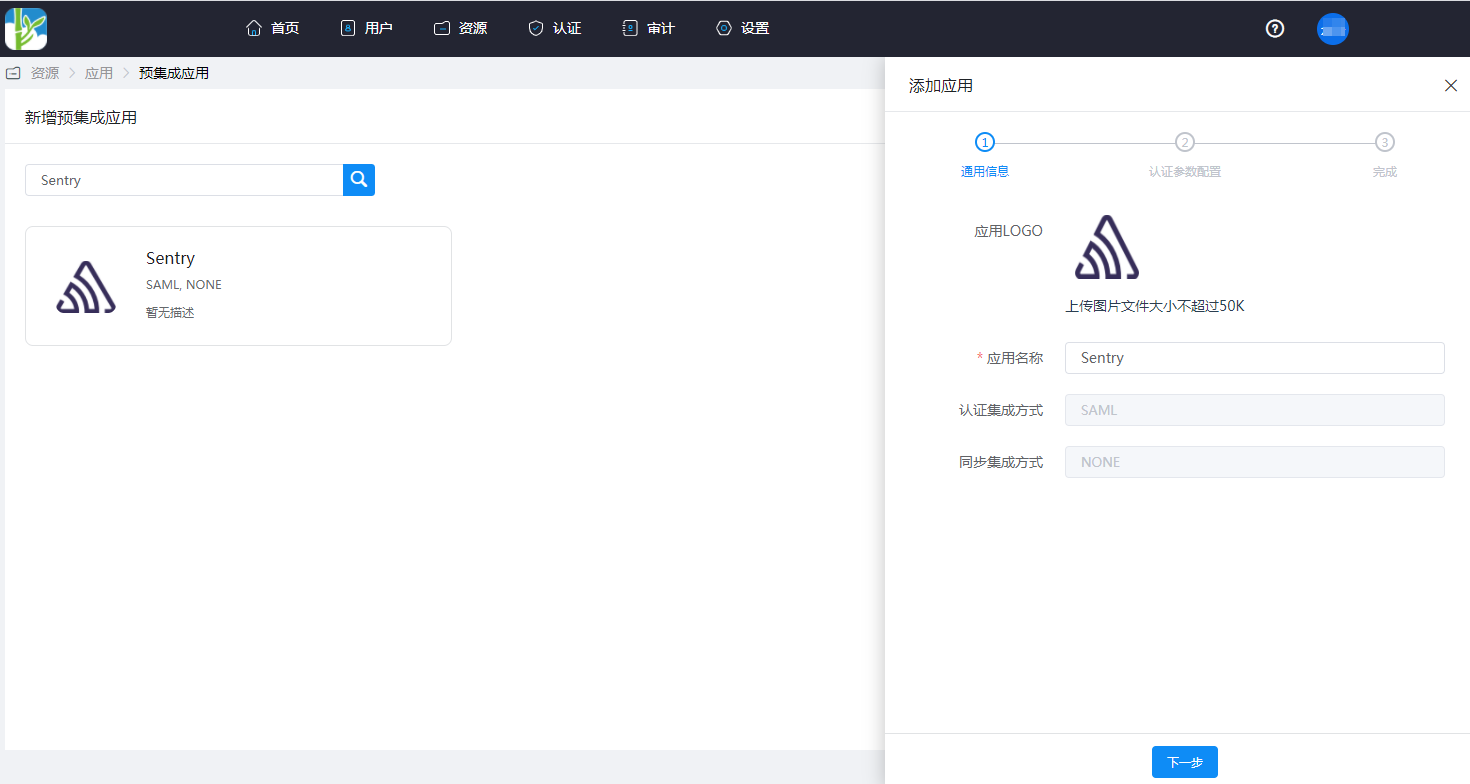
Go to Resources > Applications > Add Pre-integrated Application, and import the Sentry metadata file.
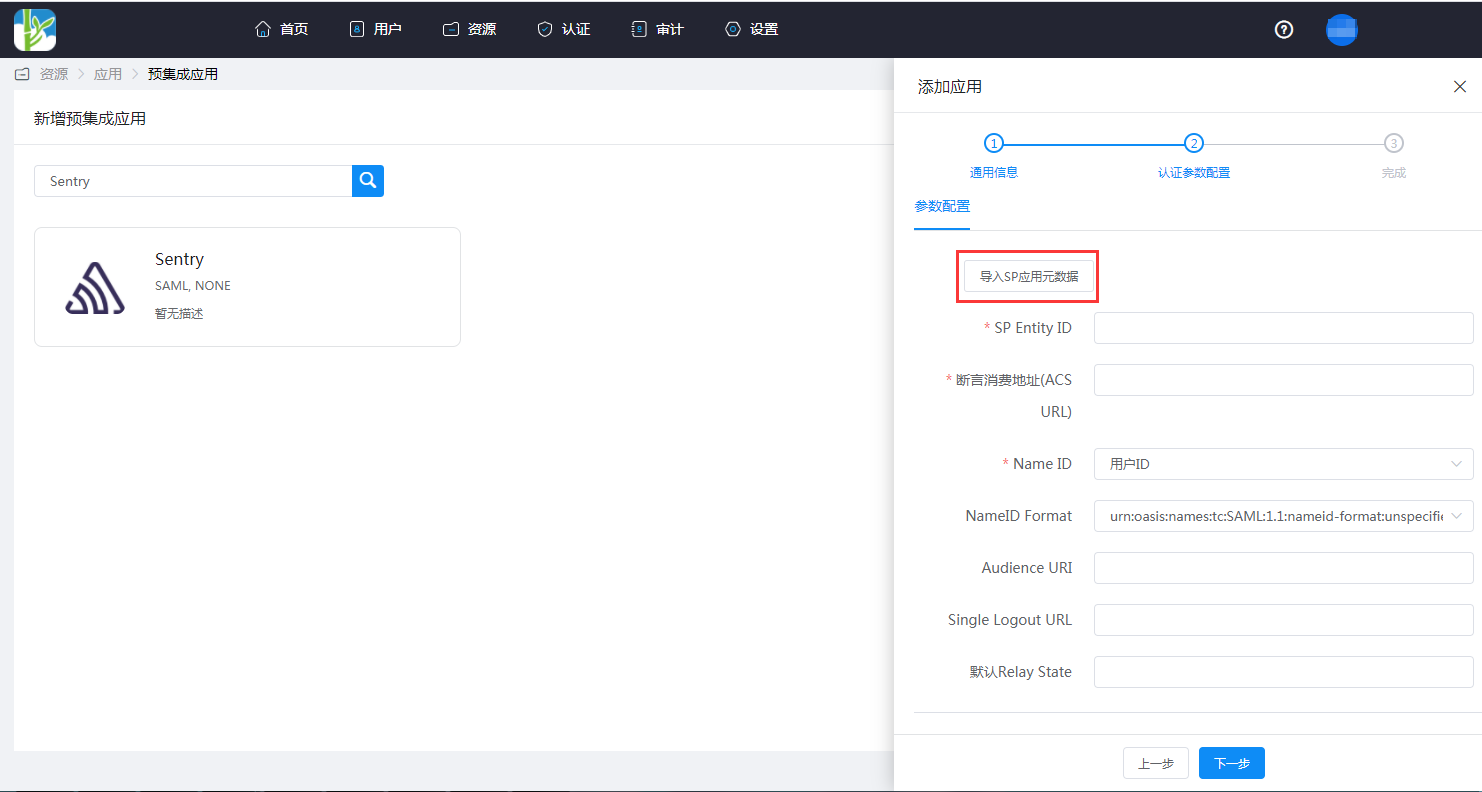
View the authentication configuration.
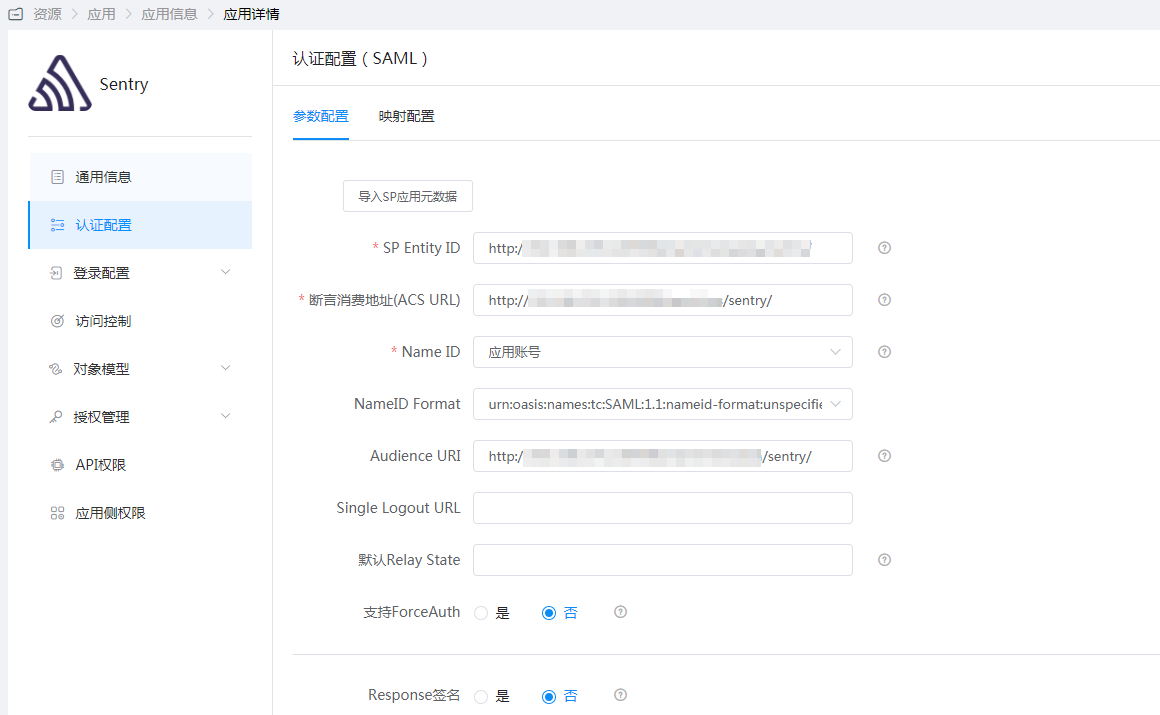
Configure mappings. Here we use
usernameandemailas examples. Add attributes according to actual needs.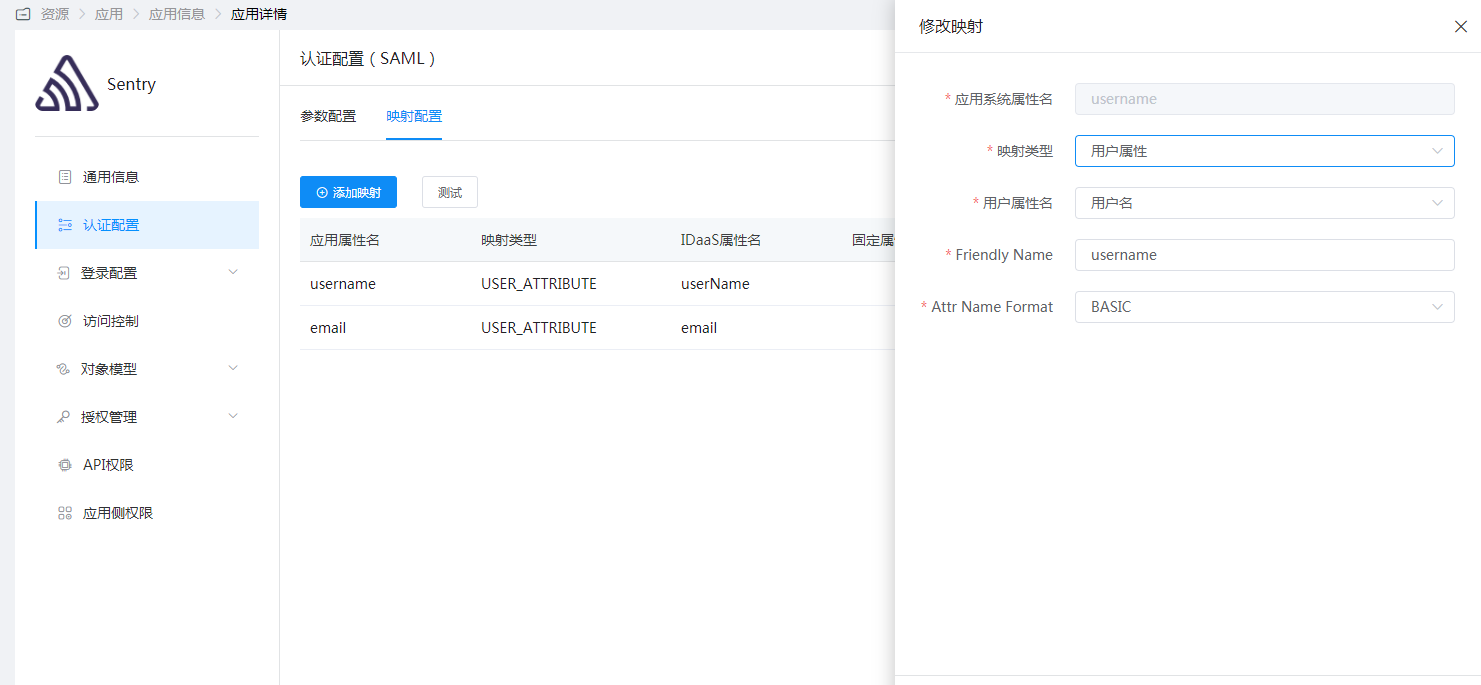
User authorization.
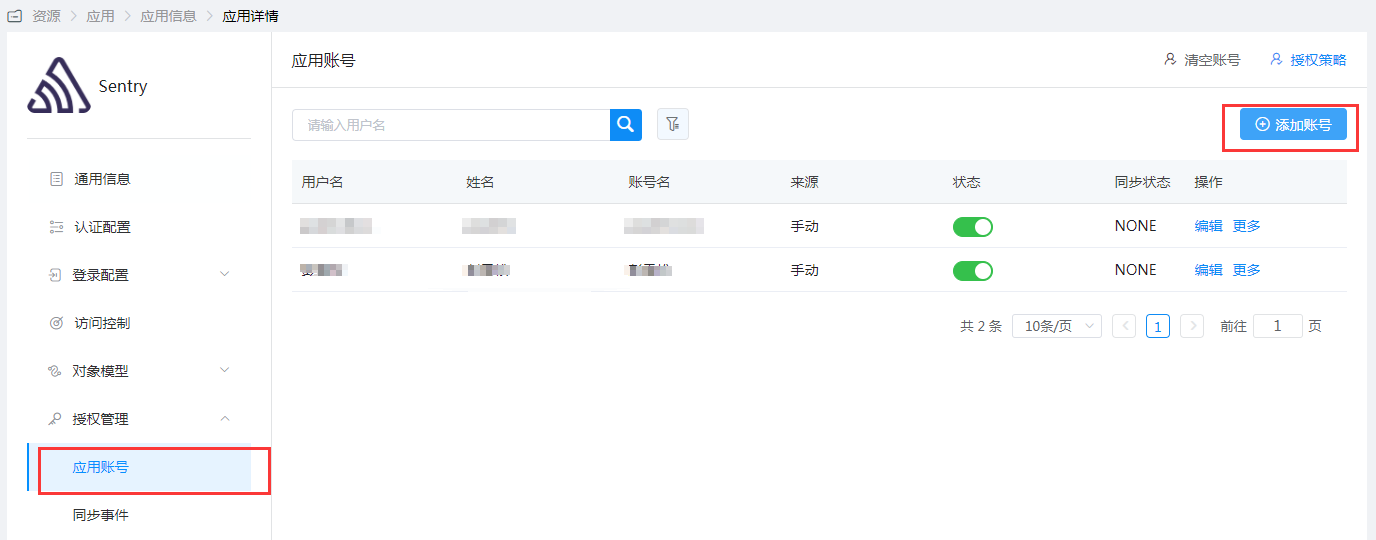
Sentry SAML SSO Configuration
Go to Settings > Auth > SAML2.
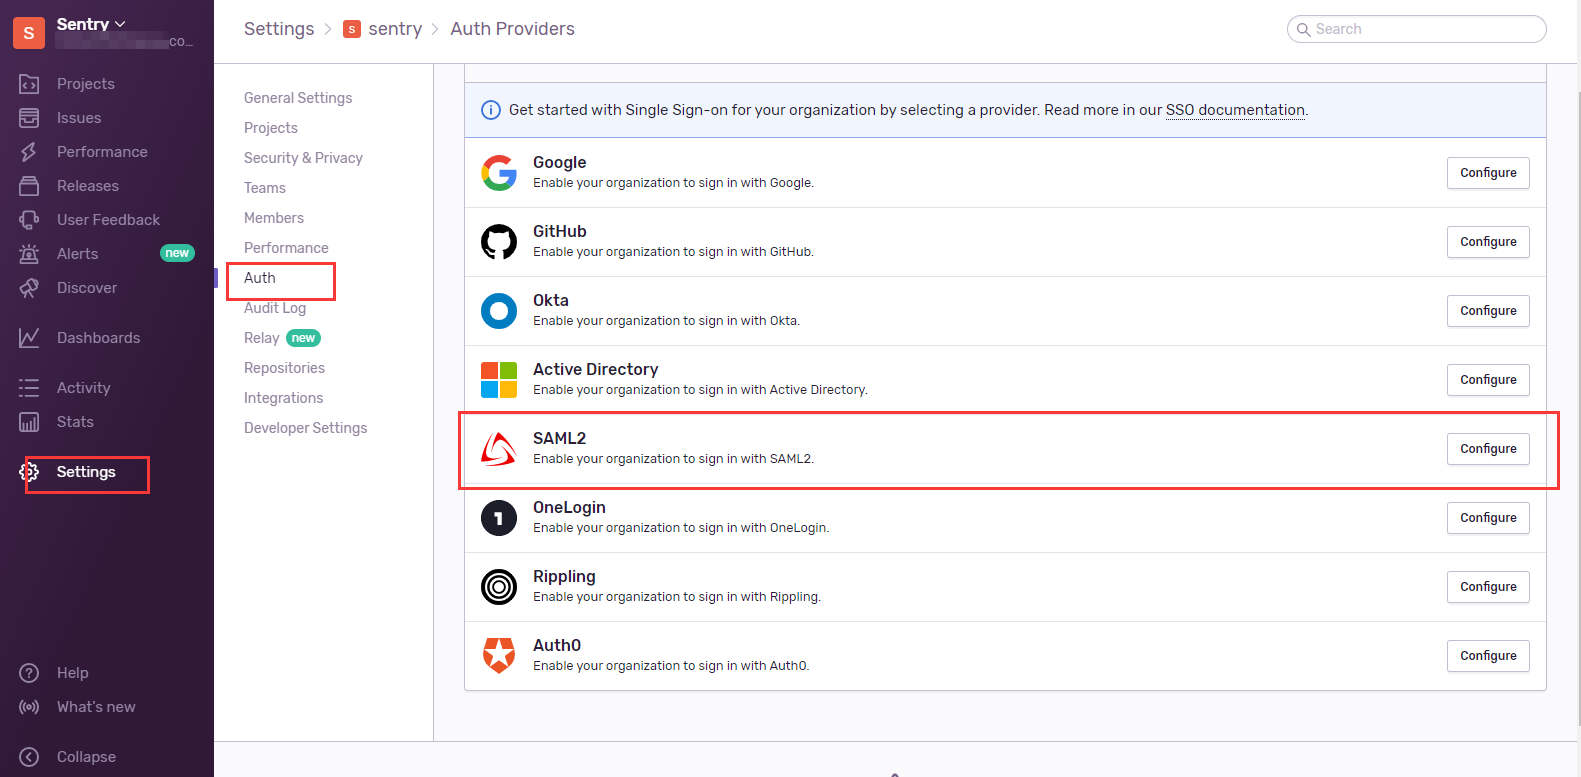
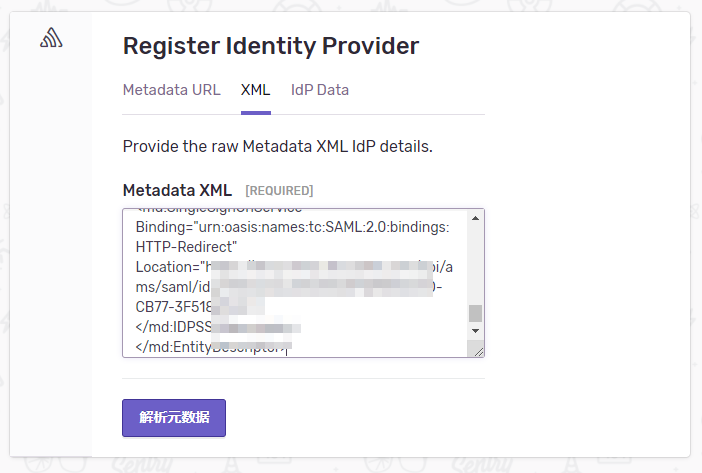
Register the IDP, fill in the BambooCloud IDaaS IDP metadata content, and click the Parse Metadata button.
Configure mappings.
IDP User ID: fill in
username.User Email: fill in
email, corresponding to the mapping configuration attribute of the Sentry application in BambooCloud IDaaS.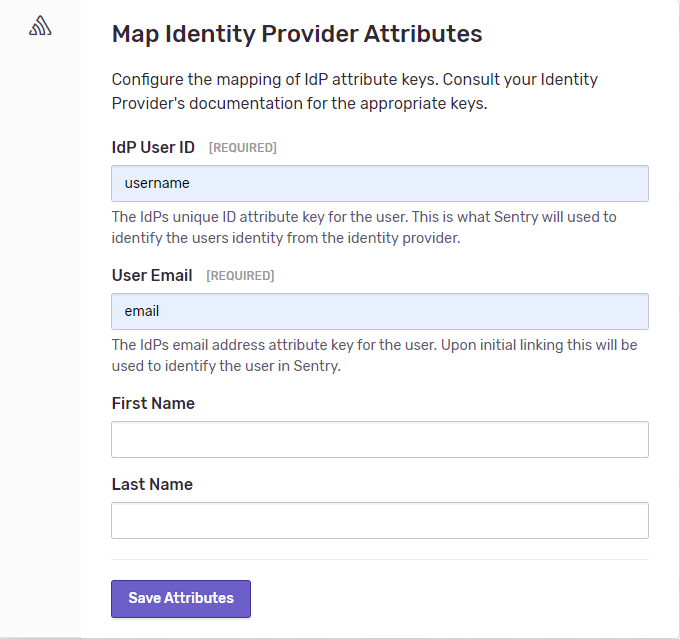
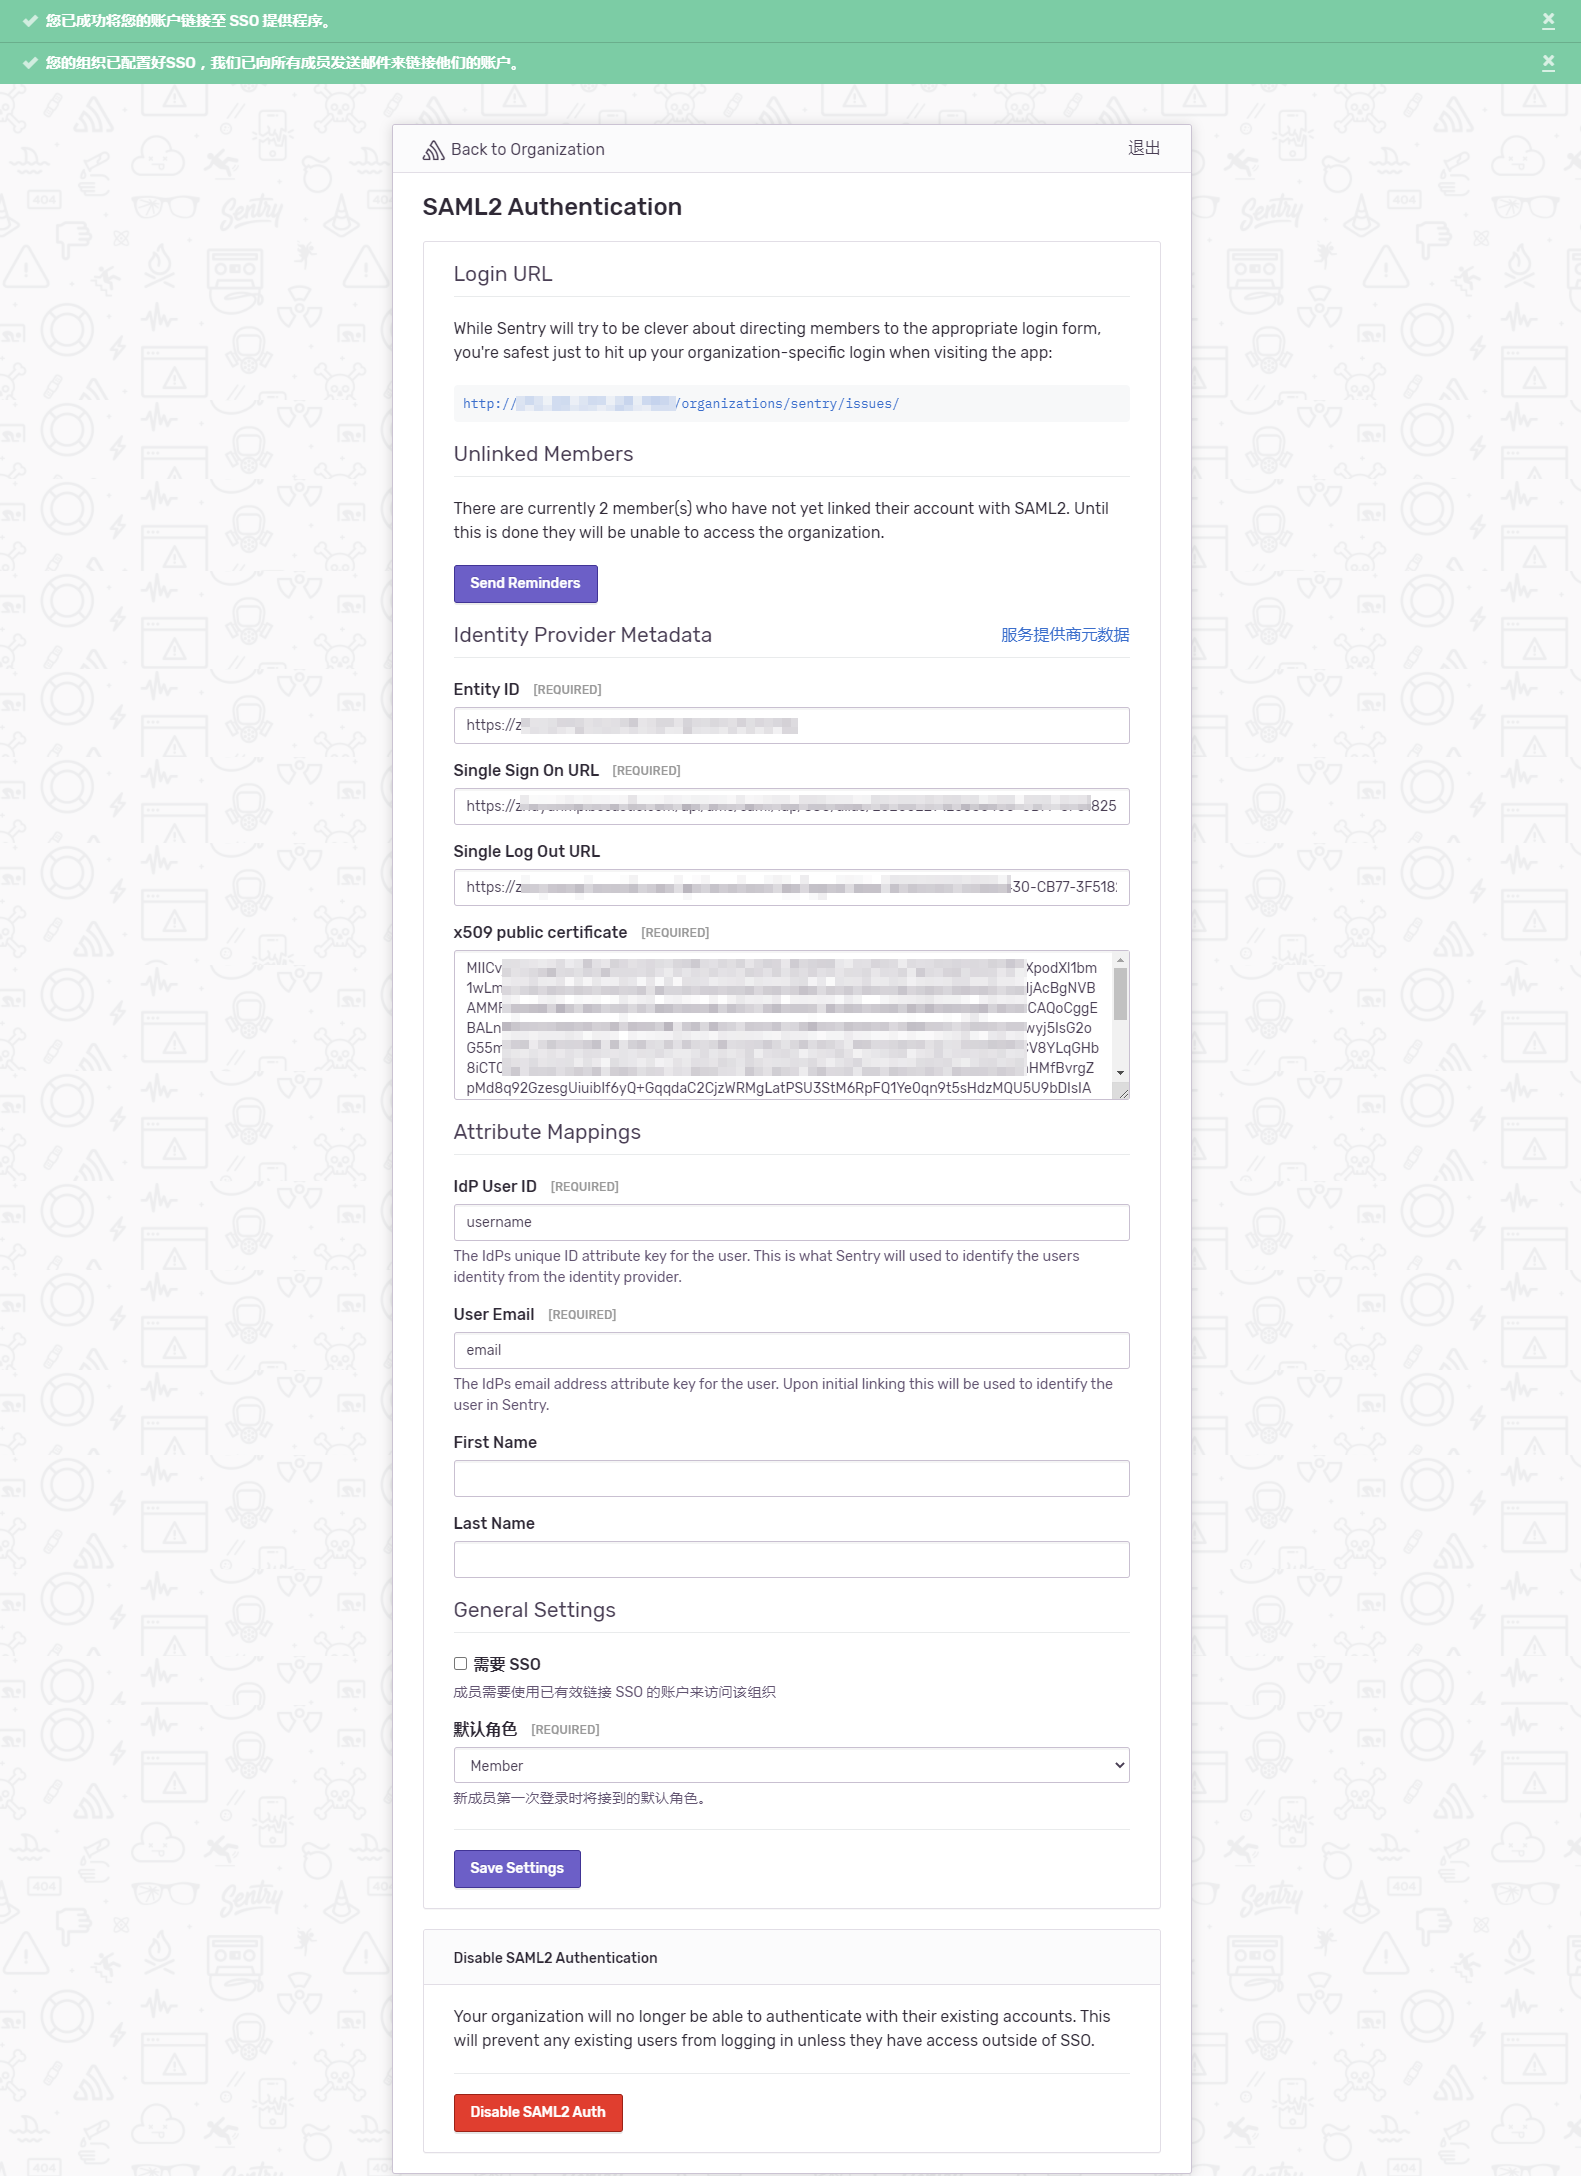
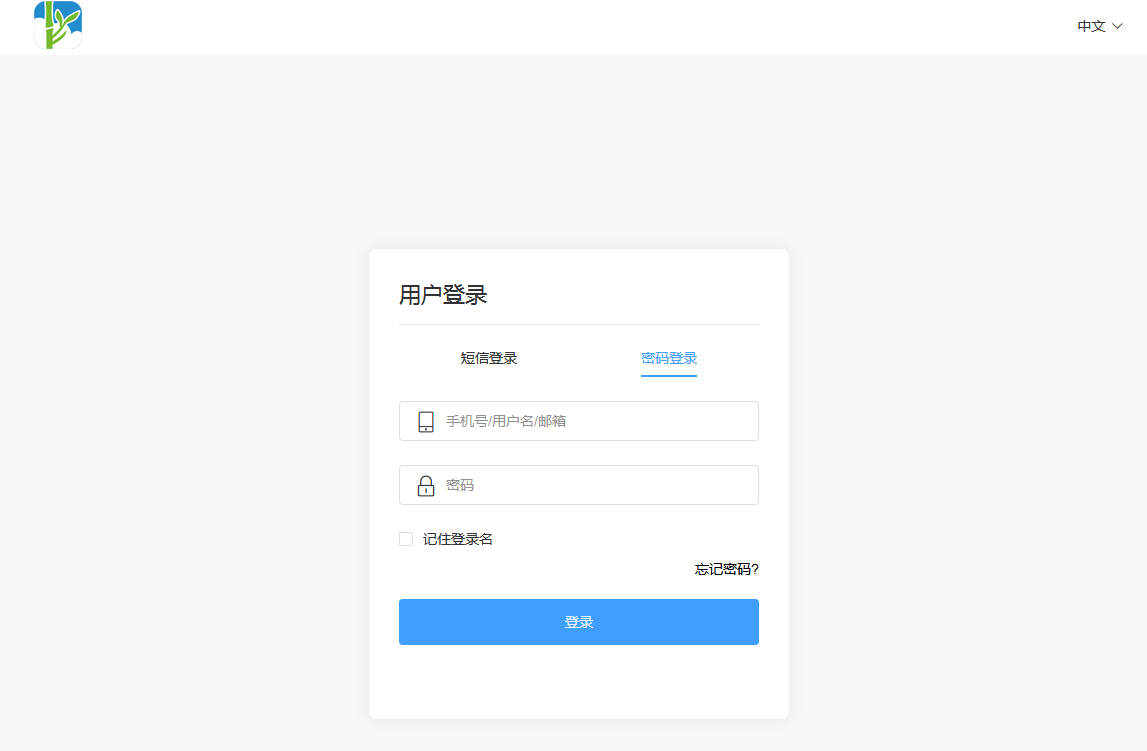
Save the configuration. You will be redirected to the BambooCloud IDaaS login authentication interface. Fill in the authorized account name and password for authentication. After authentication is complete, you will return to the Sentry SAML2 Authentication configuration page.
Login Test
Two login methods are as follows:
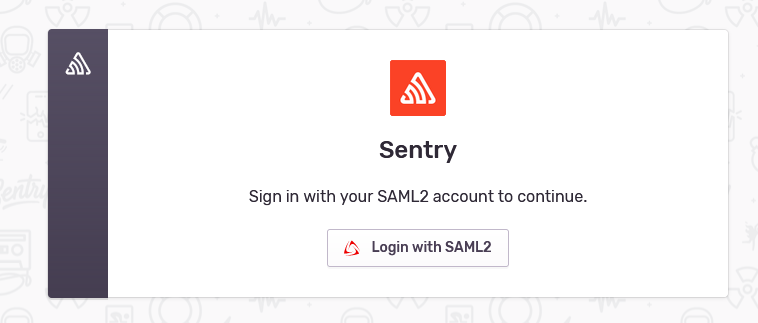
Access Sentry, click Login with SAML2, and you will be automatically redirected to the BambooCloud IDaaS login authentication interface. Enter the username and password to enter Sentry.
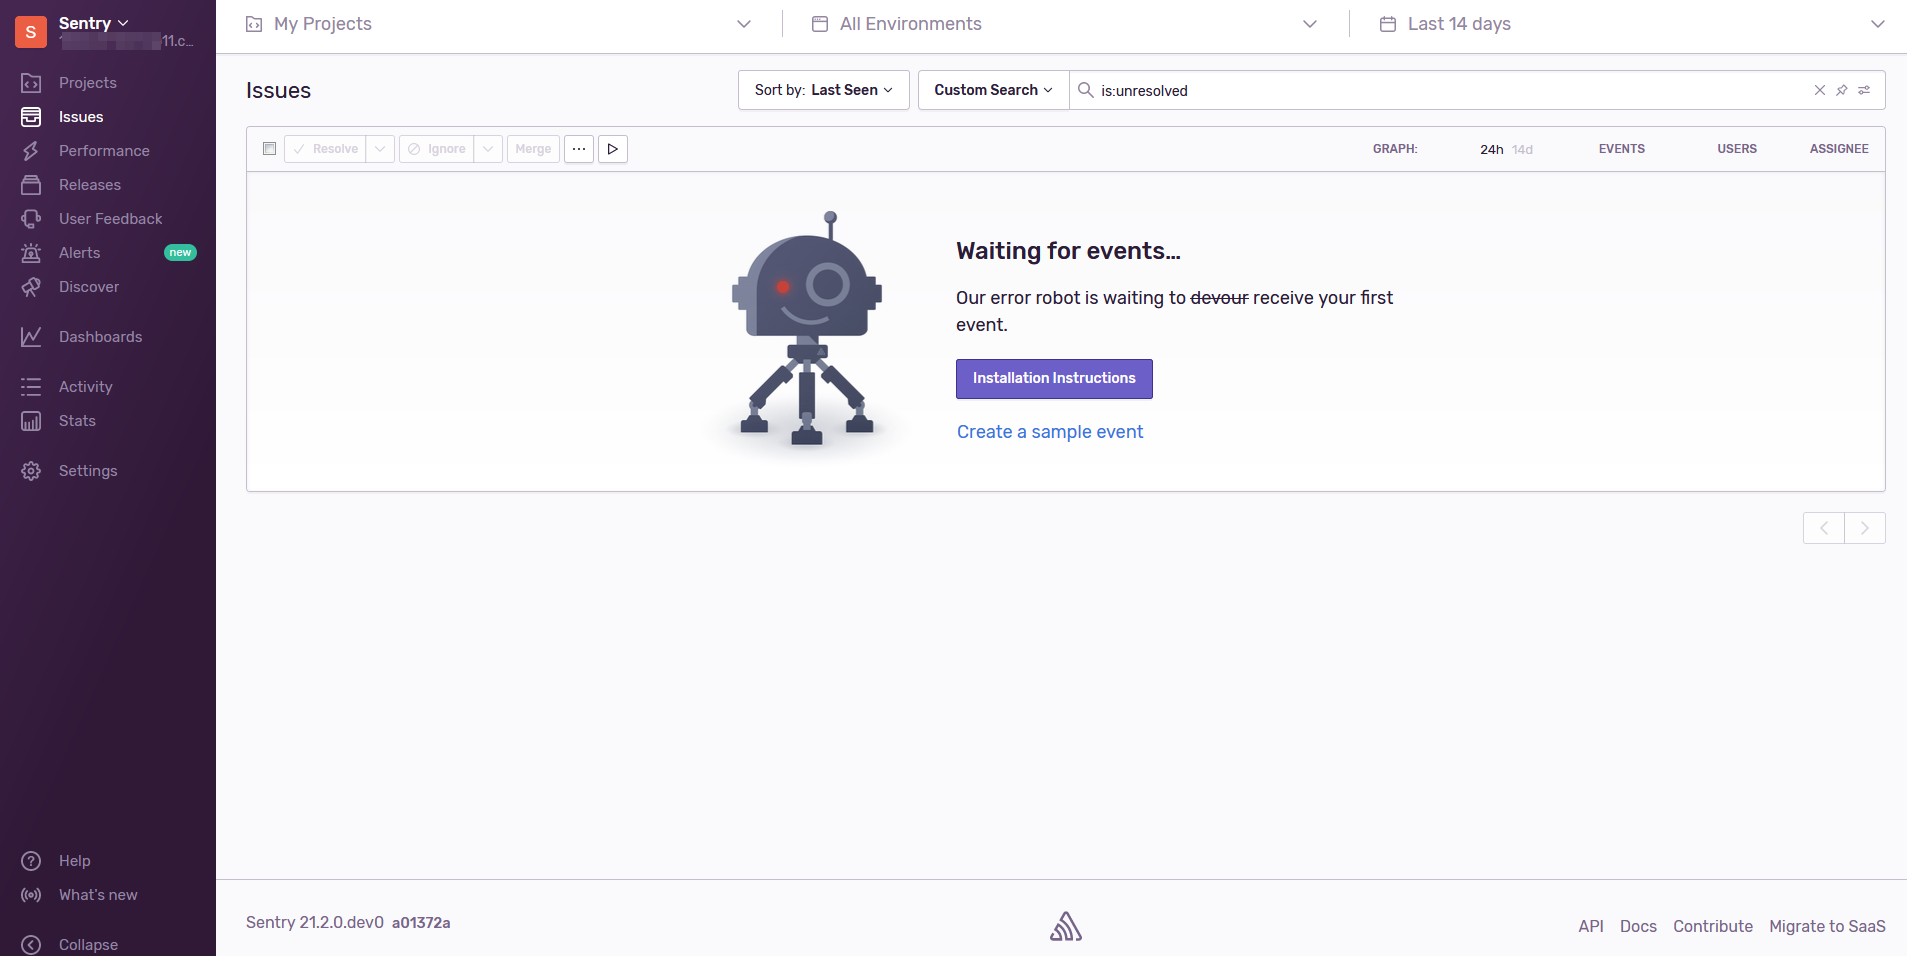
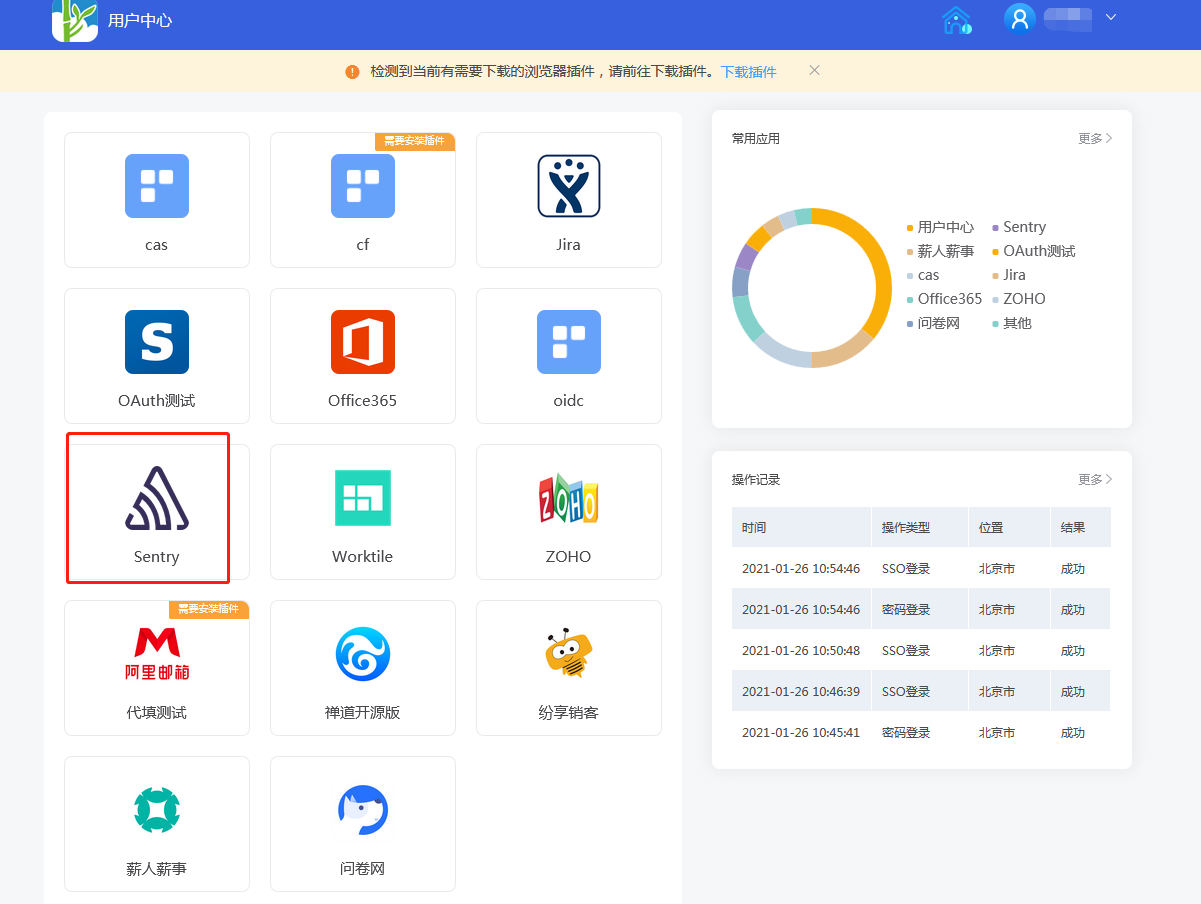
Log in to the BambooCloud IDaaS User Center, click the application logo, and enter Sentry.